
🔧 A burst pipe under the floor is never a fun find. It gets a lot trickier when there’s only 150-300mm of clearance between the joists and the ground — nowhere near enough room to get underneath and lay eyes on it. In a lot of older Melbourne homes, that means the repair has to happen from above, by carefully opening up the floor instead of crawling below it. Here’s how we handled one of these jobs, step by step, and why we always tell people to check subfloor access before they buy.
Why a Tight Subfloor Makes Everything Harder
It’s a pretty common assumption that if a house has timber floors, plumbing repairs are straightforward. In reality, it comes down to what’s underneath. When there’s only 150-300mm between the ground and the joists, there’s nowhere for a plumber to actually get in, it’s hard to spot a leak by eye, and water can spread well before anyone notices. More often than not, it also means cutting into the finished flooring to get the job done.
This particular house even had an existing access panel — but once we opened it up, the crawl space was still far too tight to reach the pipe.
Step 1: Checking the Access Panel
First thing we do on any subfloor job is check whether there’s an access panel already there, and whether it’s actually usable — the size of the opening, how much room there is underneath, whether we can see the plumbing, and whether there’s enough safe space to work. On this job, there was a panel, but it was obvious straight away that it wasn’t going to get us to the pipe. Having an access door doesn’t automatically mean the plumbing underneath is accessible.
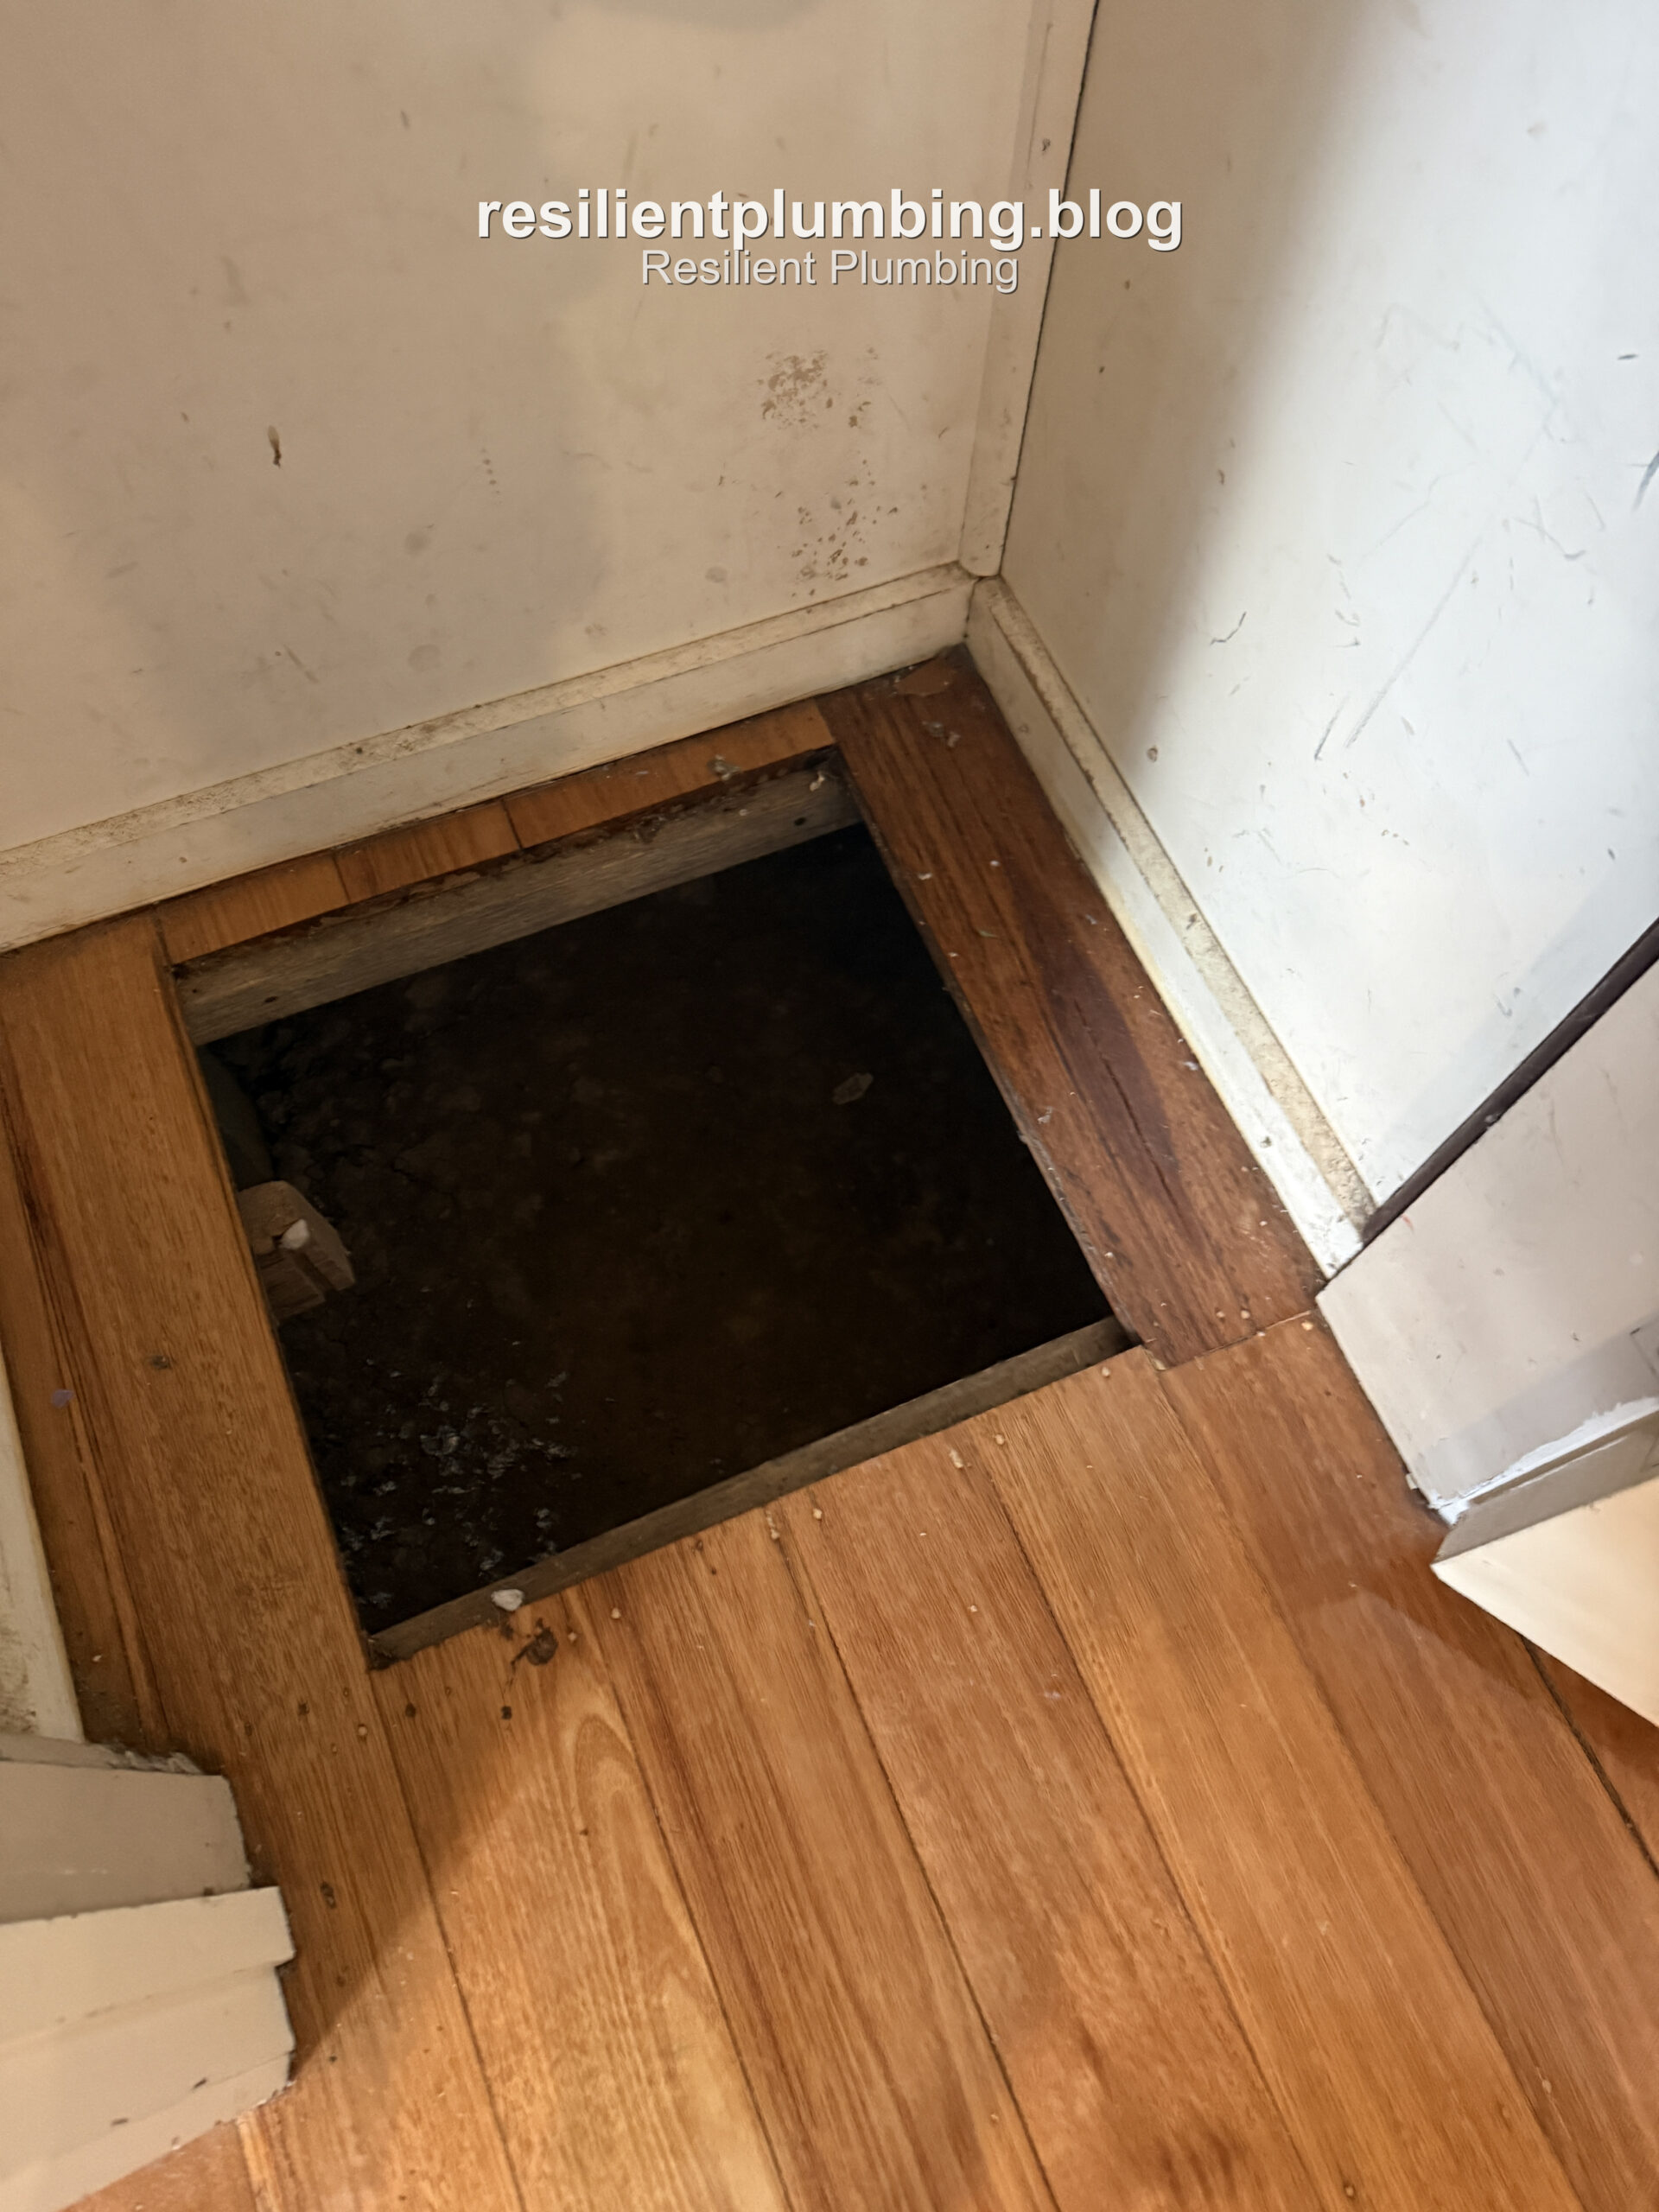
The existing access opening — a way in, but not far enough to reach the damaged pipe.
Step 2: Getting a Read on the Clearance
Once we’re in, we take stock of what we’re actually working with — how much gap there is between the soil and the joists, the state of the ground, any dampness, the timber framing, and whatever else is running through the space. Here we were looking at somewhere between 150 and 300mm of clearance, which is nowhere near enough to crawl through. That told us straight away this wasn’t going to be a job we could do from underneath — it had to come from above.
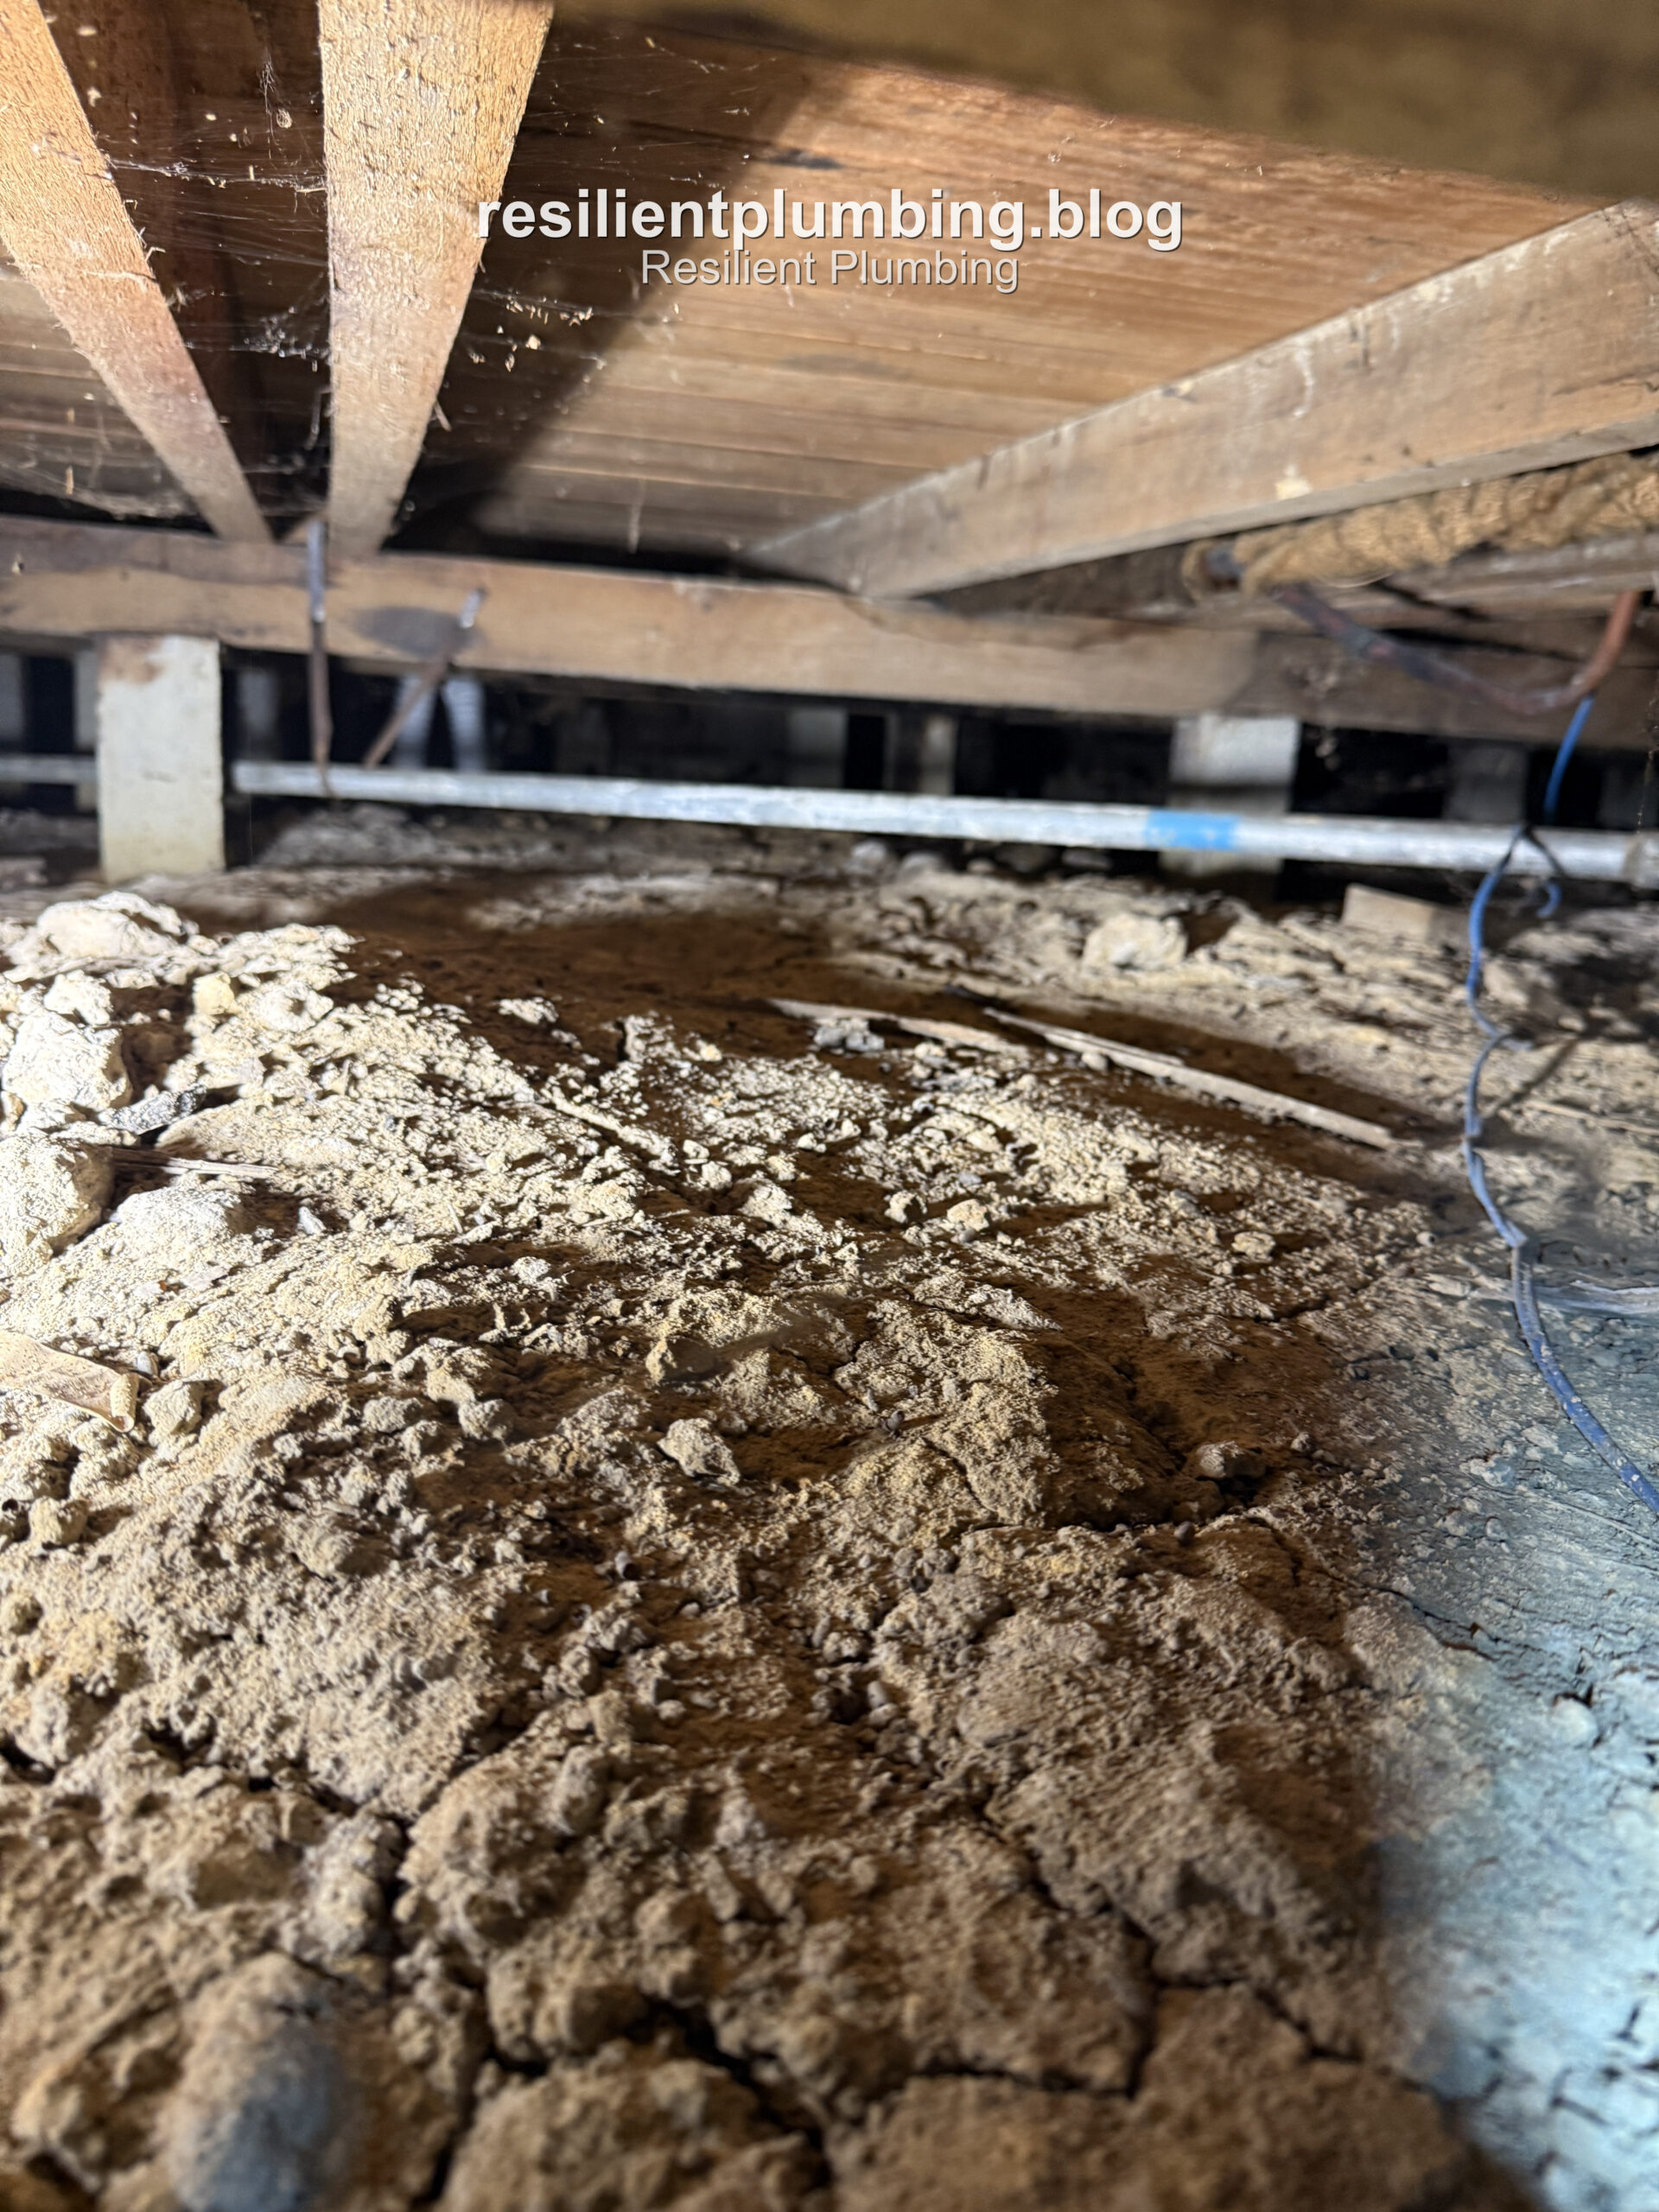
Barely enough room for an arm, let alone a person — the joist-to-soil gap measured at roughly 150-300mm.
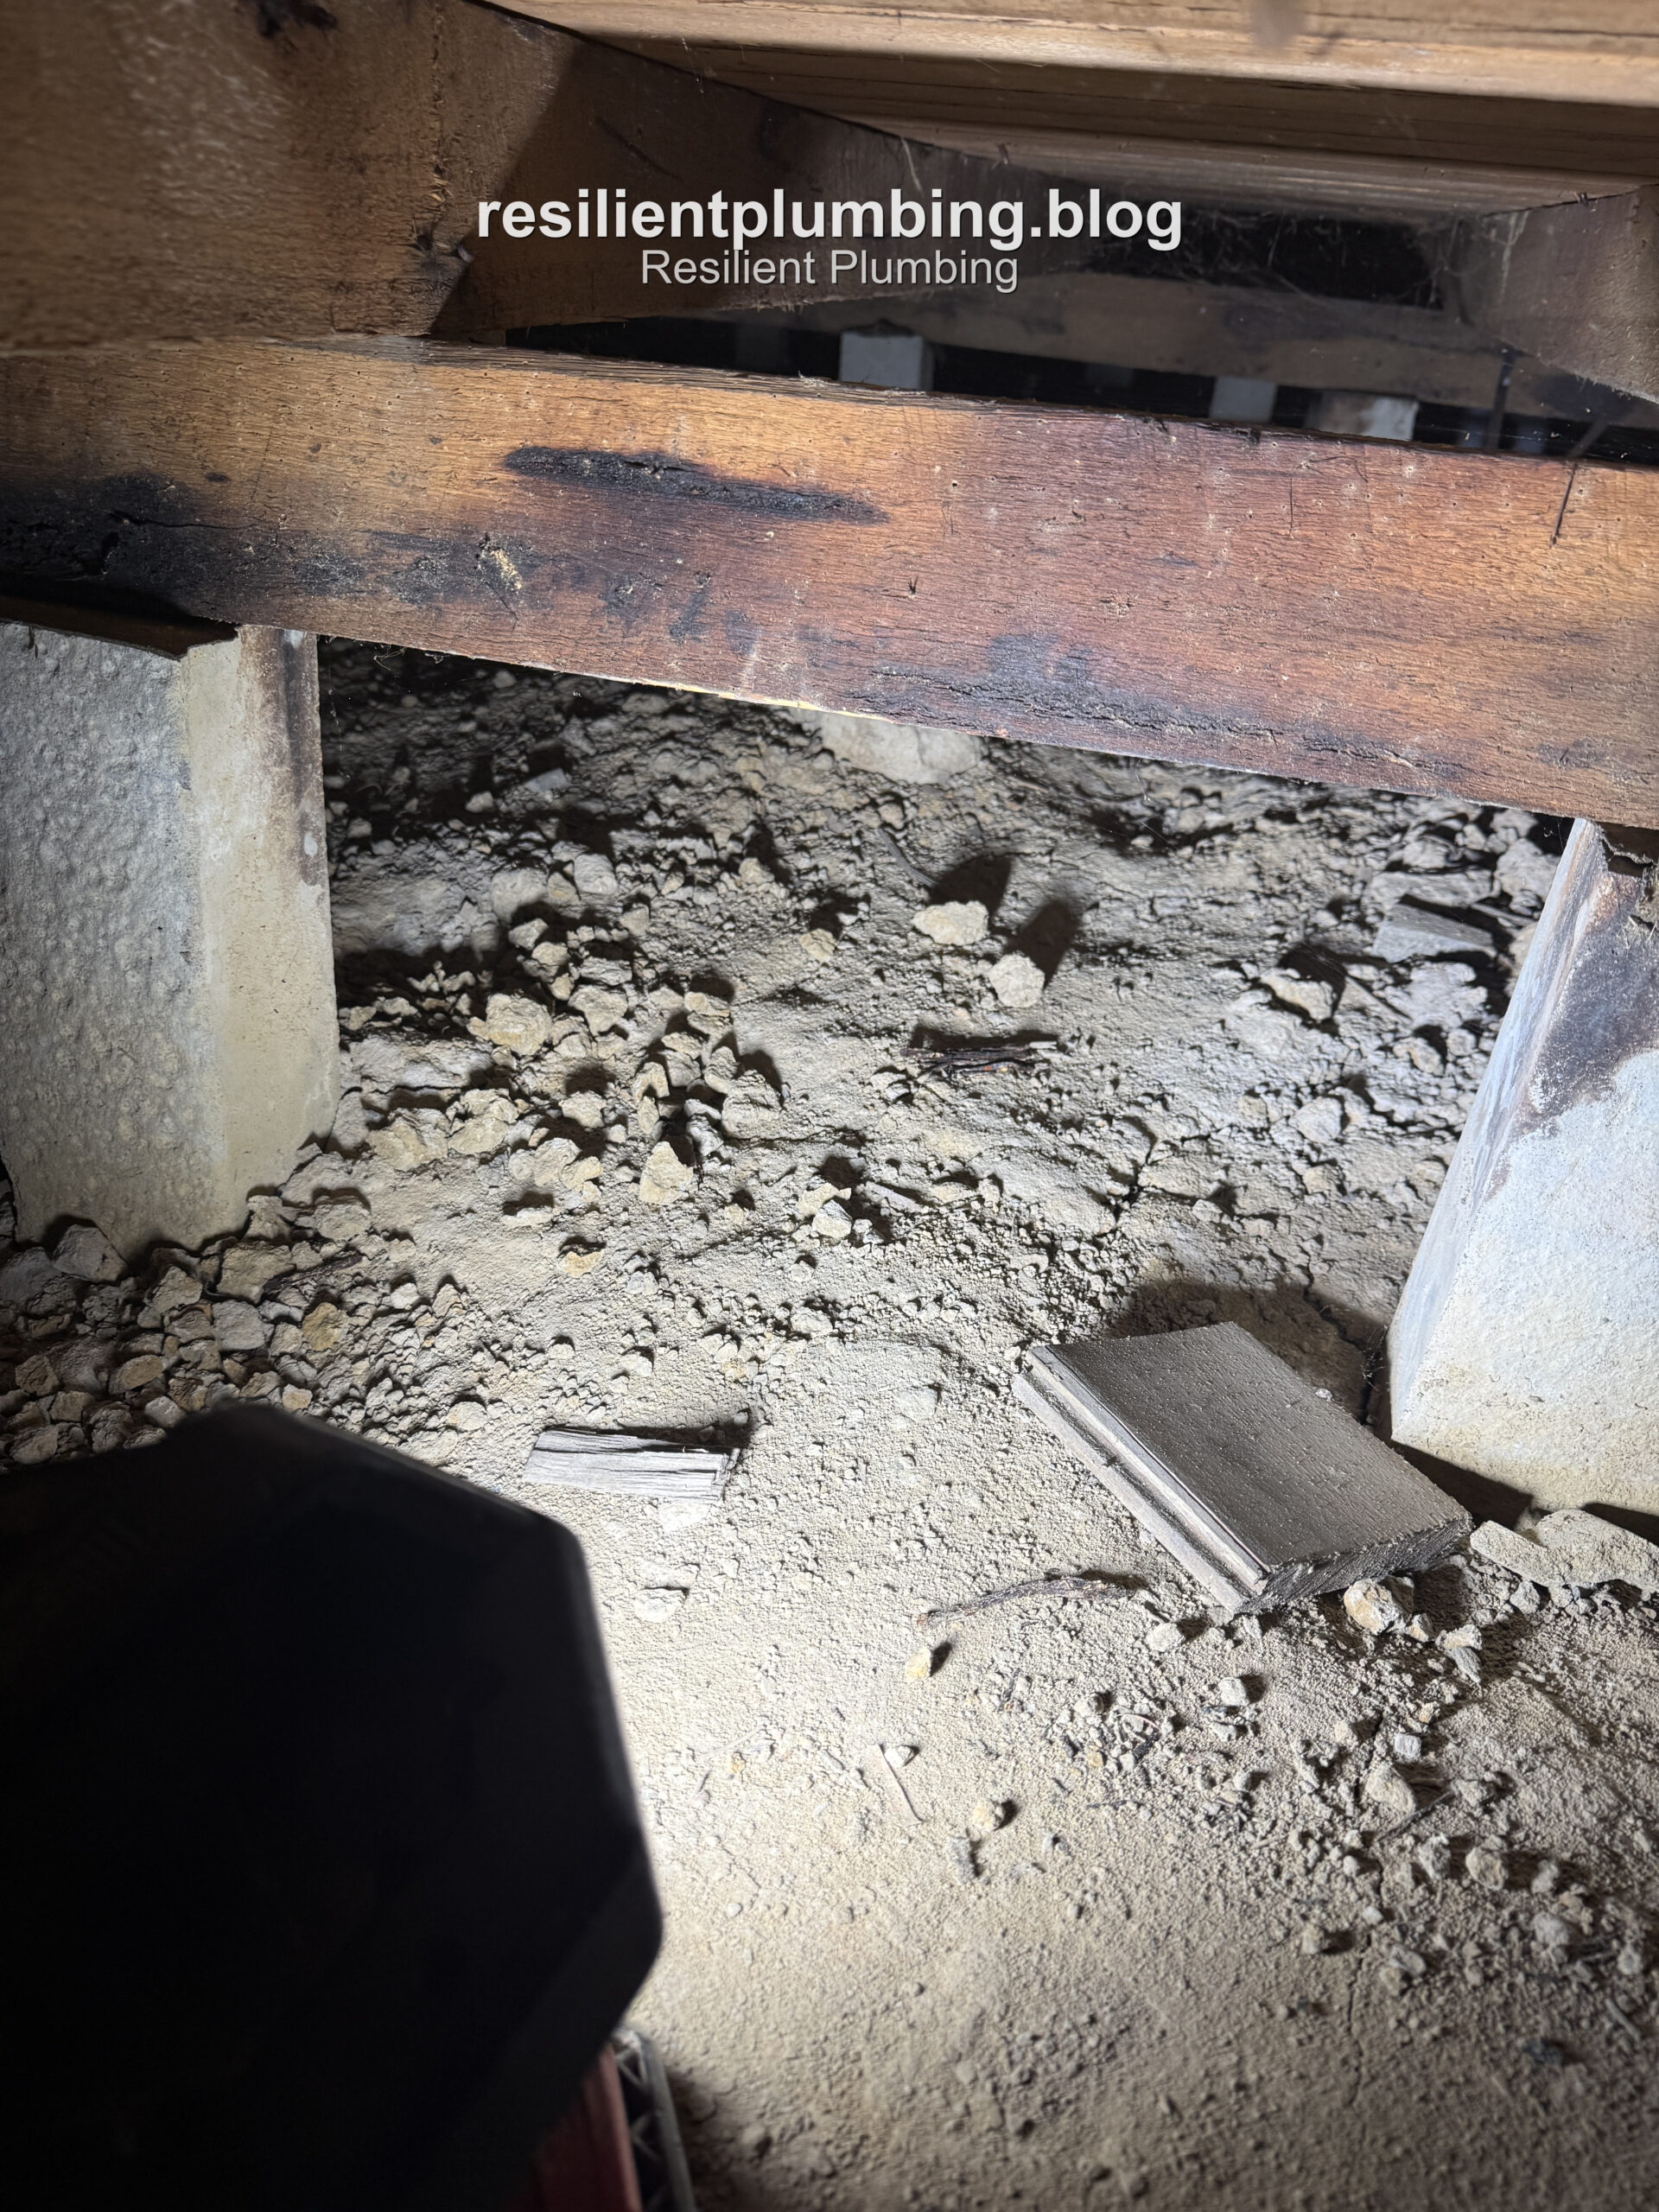
A wider look at the crawlspace — timber framing, rubble fill, and services all packed into a very shallow void.
What We Check Before We Start
- Is there an existing access panel, and is it usable?
- How much clearance is there between the soil and the joists?
- What else is running through that space — gas lines, drains, stormwater or ducting?
- Any signs of dampness, mould, or a musty smell coming from below?
Step 3: Working Out What Else Is Down There
Before we cut into anything, we need to know exactly what’s running through that space. Gas lines, sewer and stormwater pipes, ducting, bearers and joists — all of it needs to be accounted for. In a cramped, dark subfloor it’s surprisingly easy to mistake one pipe for another, so we always confirm we’ve got the right one before any cutting starts, especially with gas and water lines often running side by side.
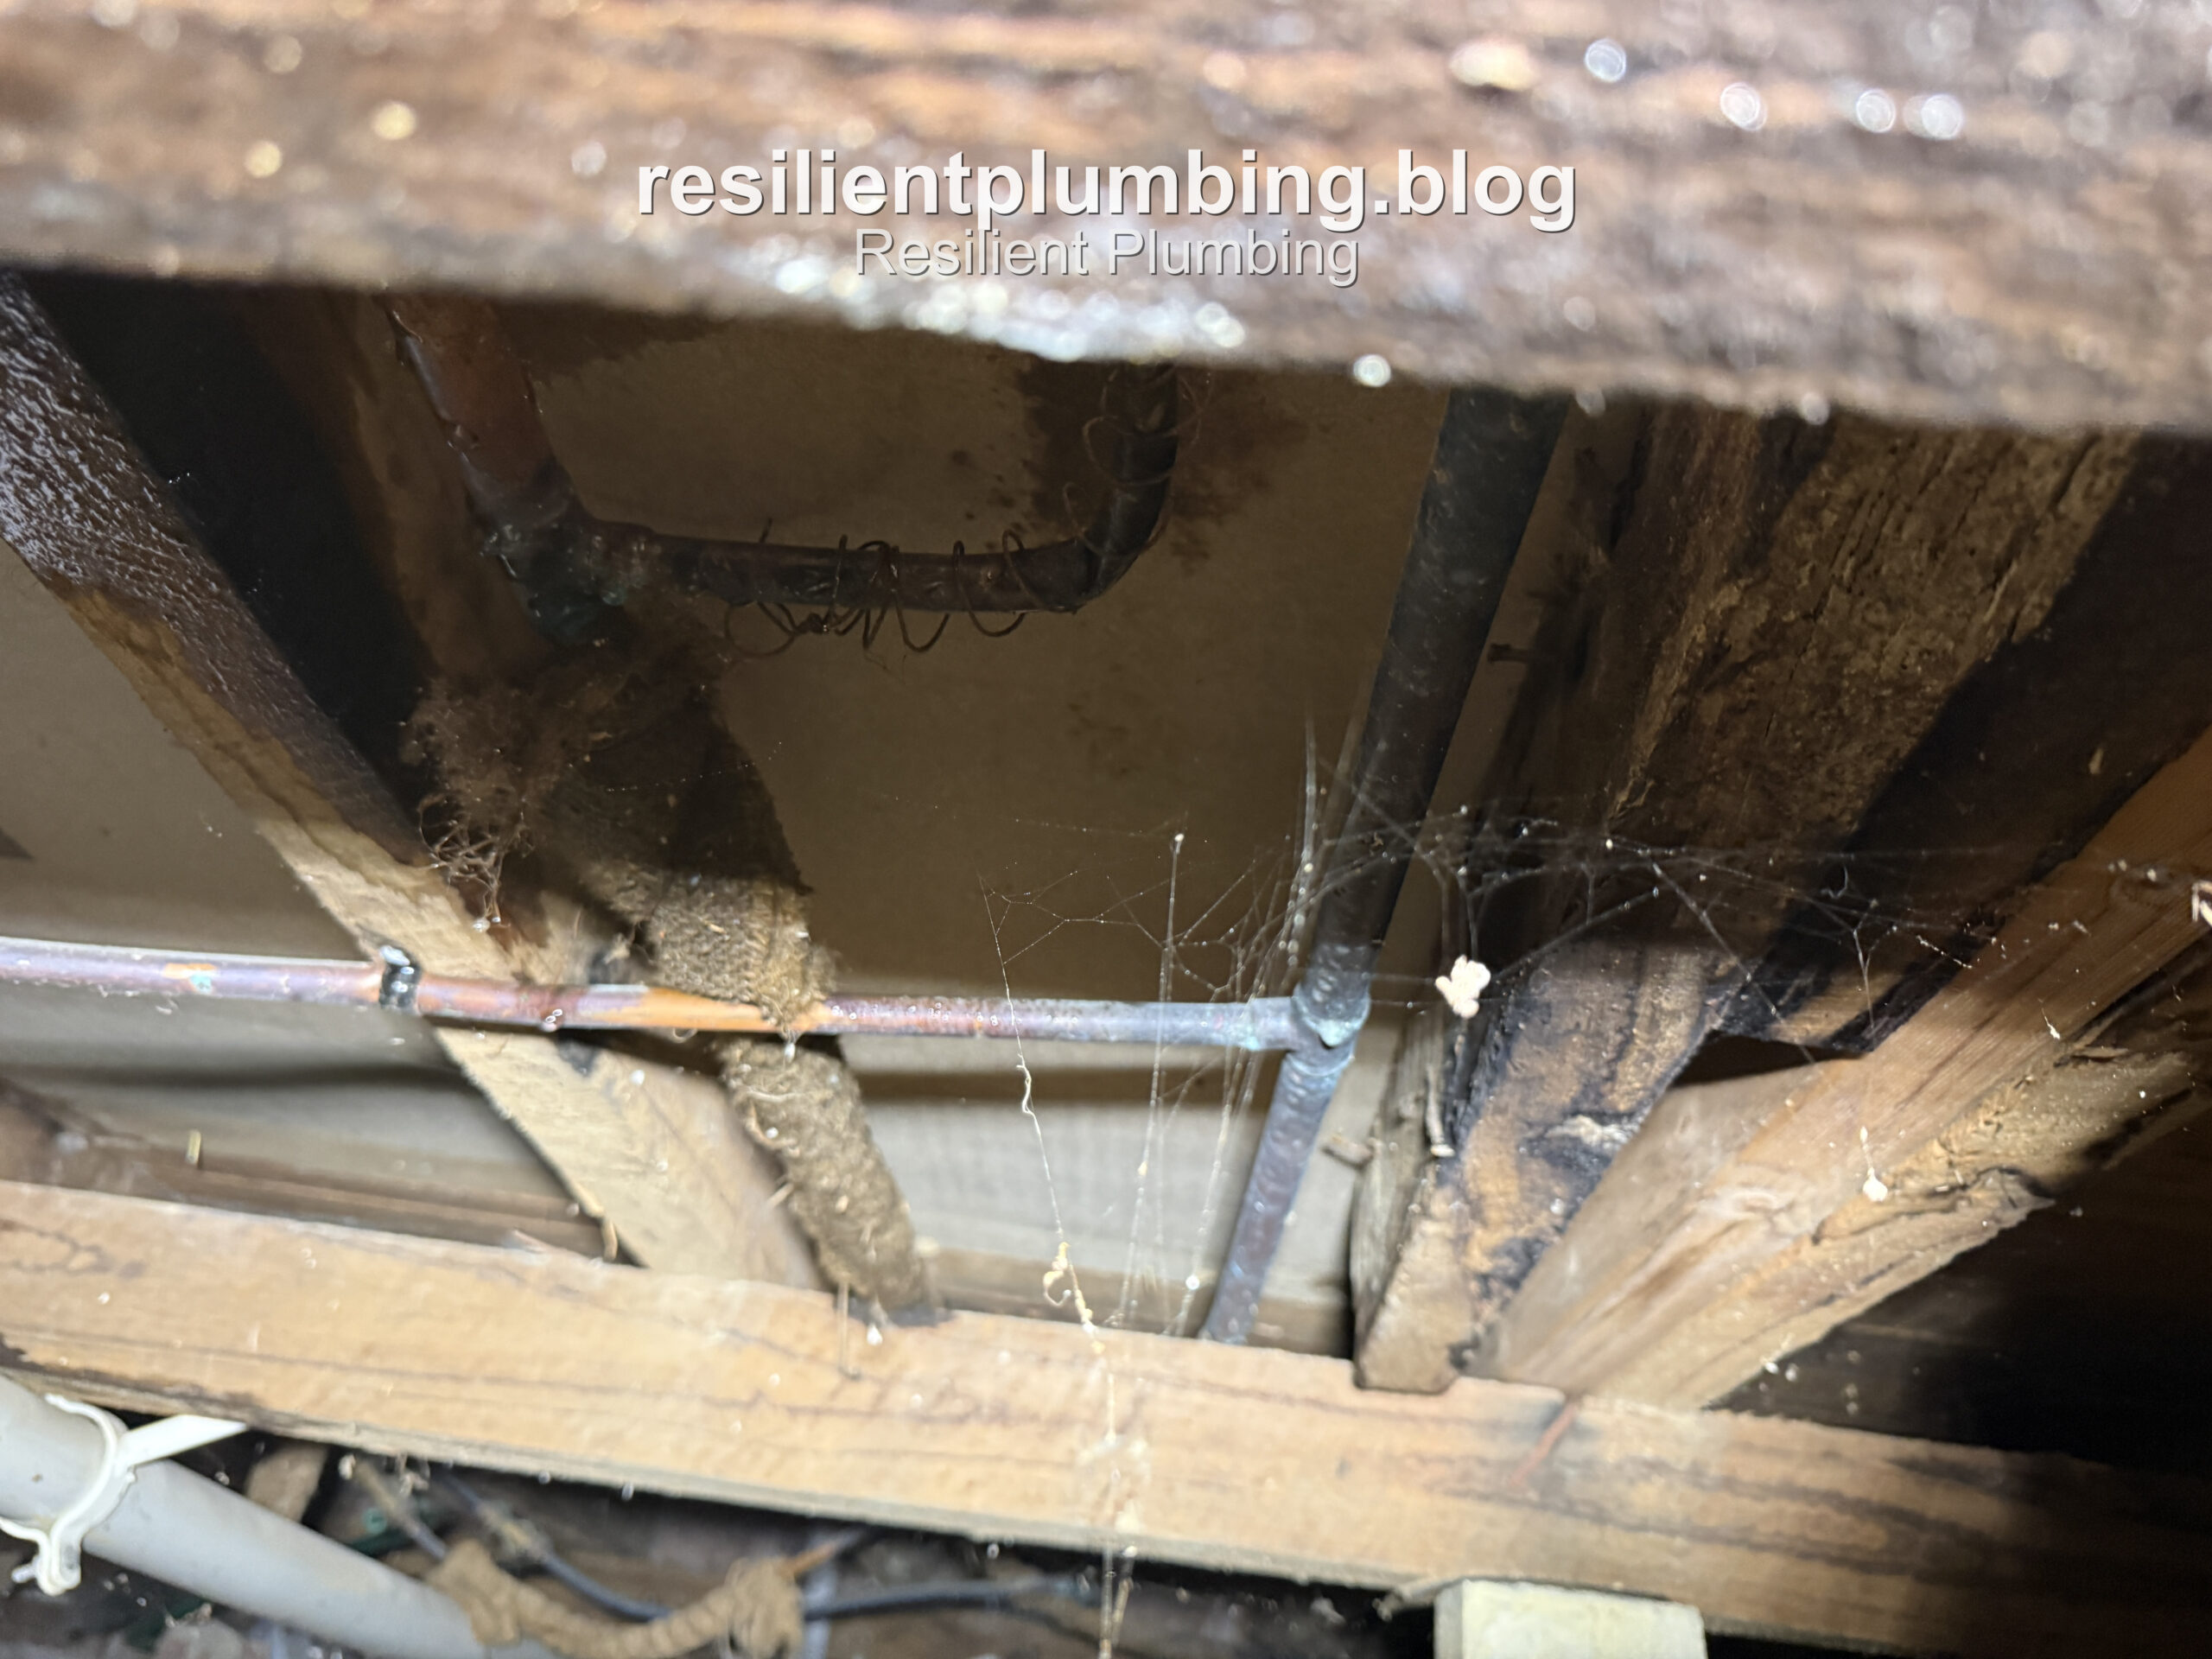
Tracing the pipe route through the framing to make sure nothing else was in the way.
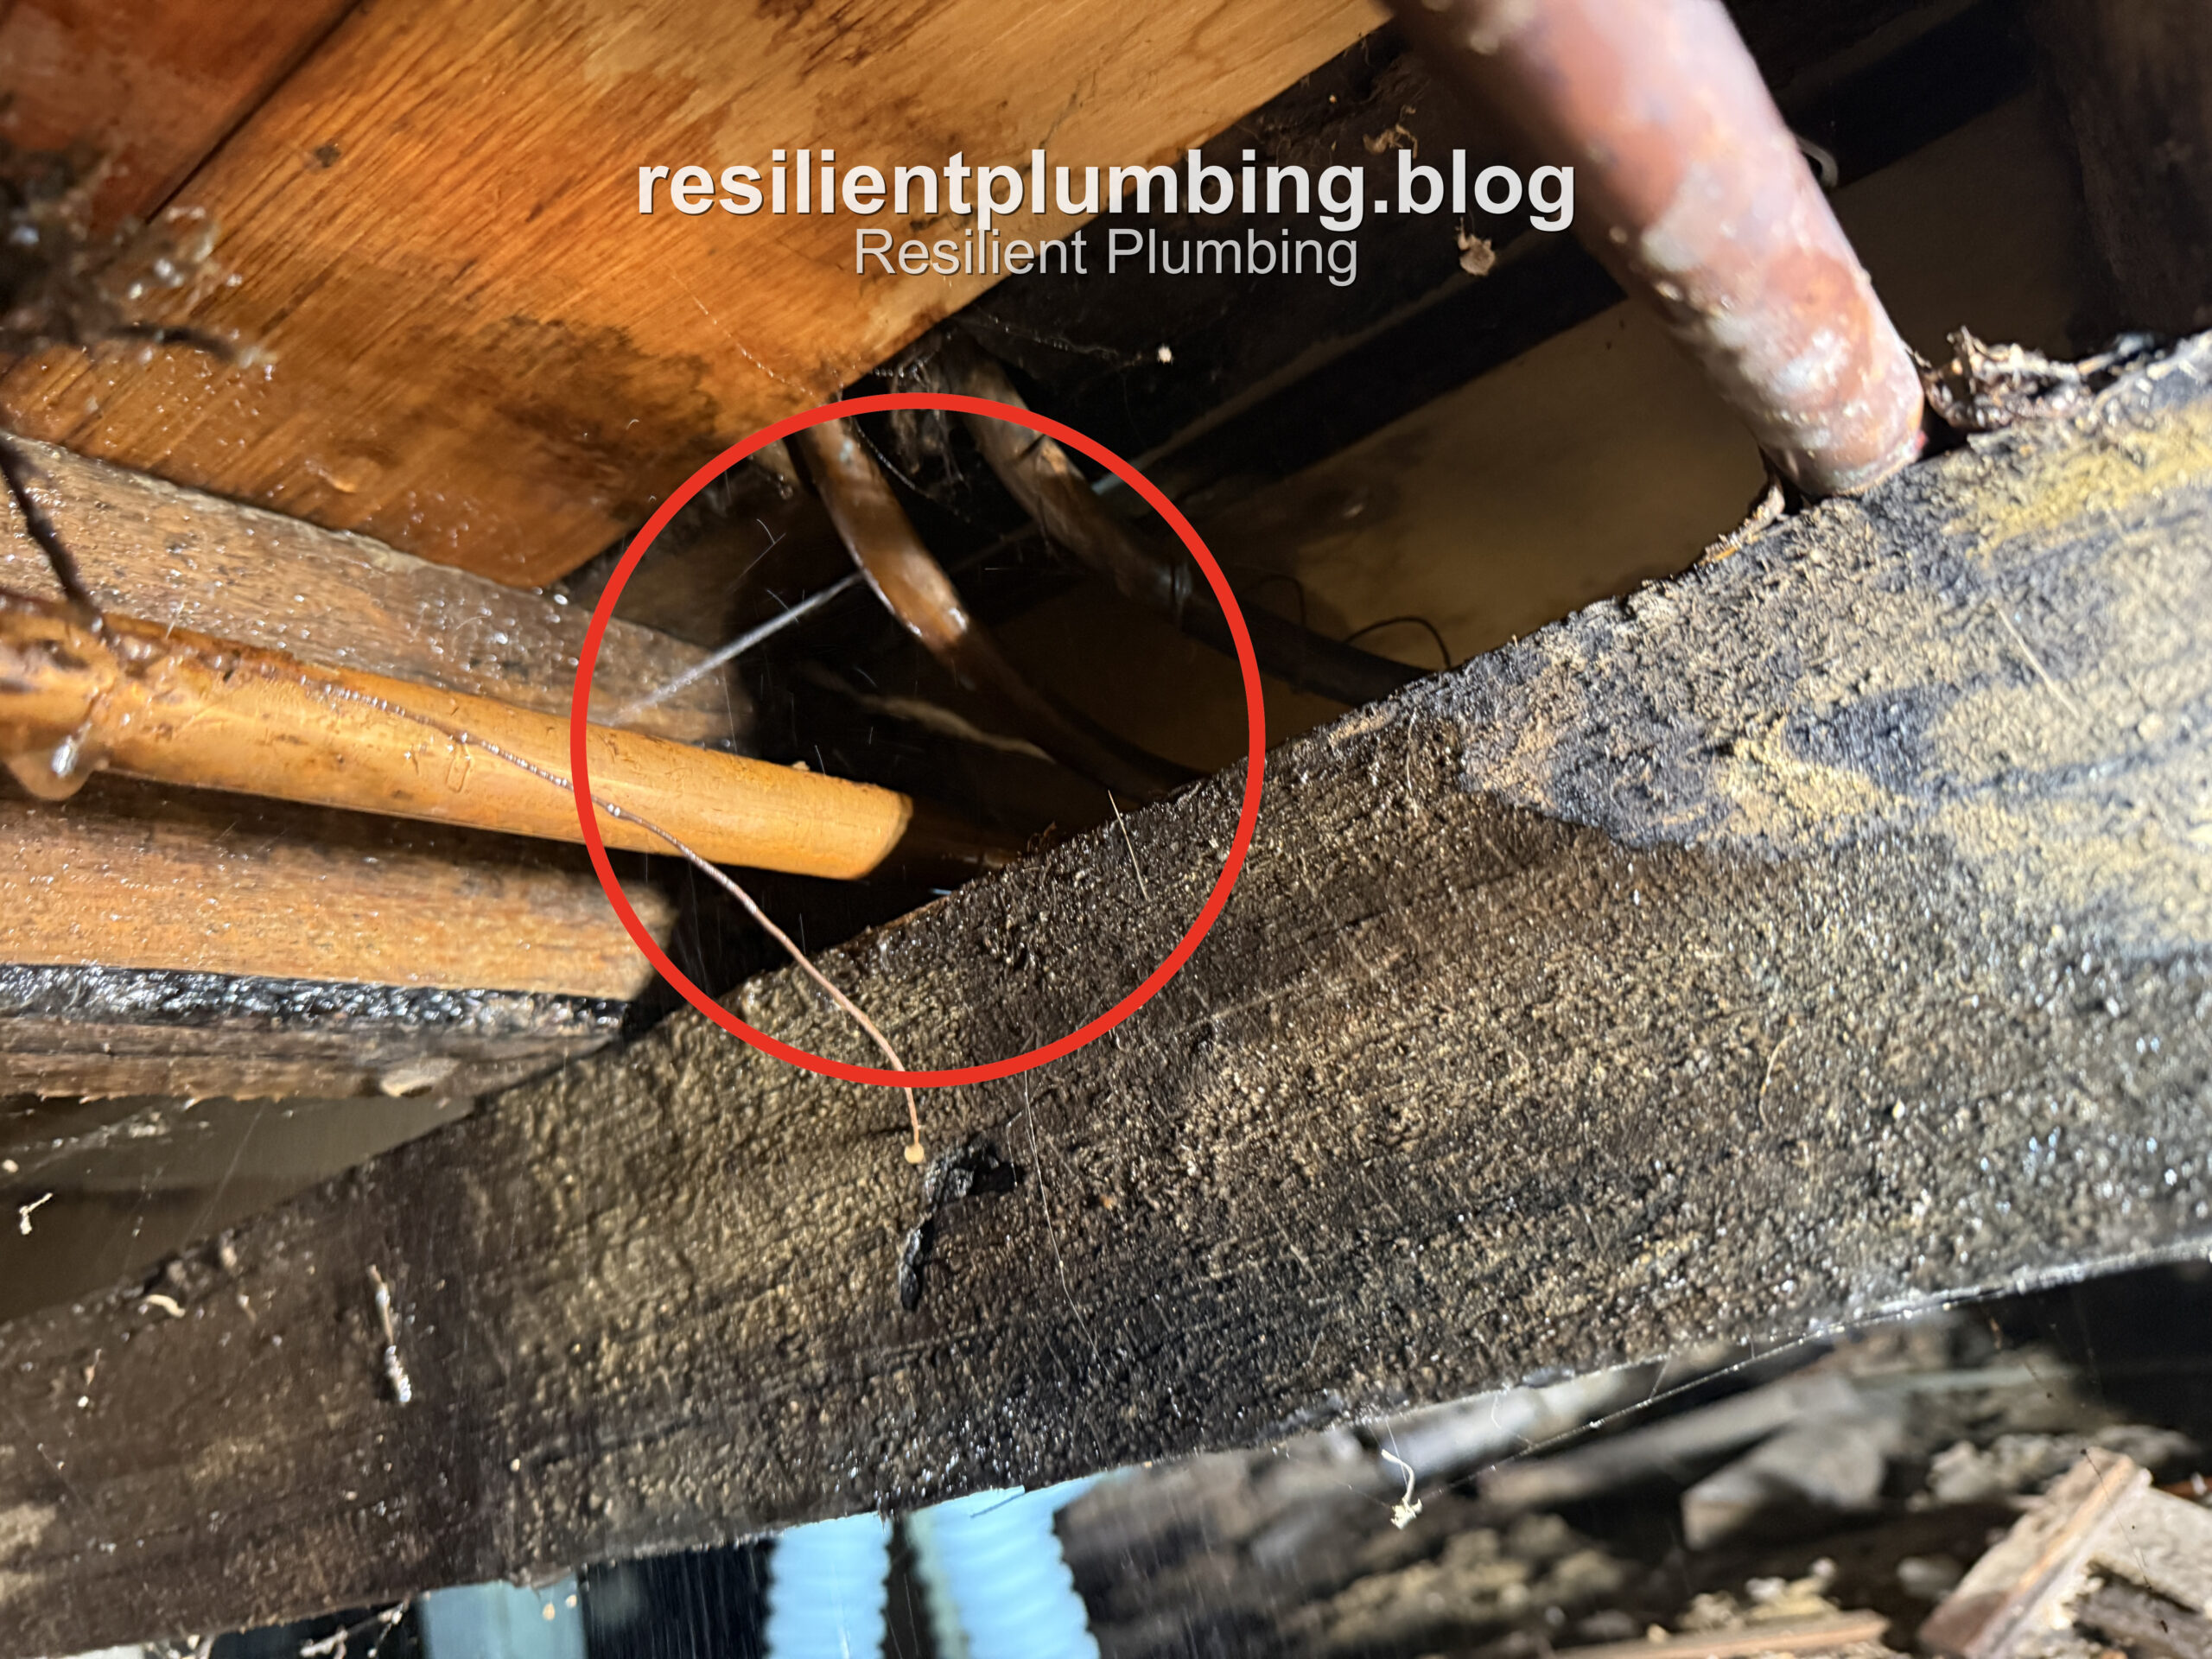
Older lagged copper pipework sharing the space with other services — all noted before we started cutting.
Step 4: Tracking Down the Leak by Ear
When we’re not sure exactly where the burst is, sound is usually the best clue we’ve got. A pressurised leak tends to hiss, spray, or trickle — sometimes you can even hear water splashing about under the floor. Walking the room and listening carefully lets us narrow things down, so we’re only opening up the bit of floor that actually needs it, rather than pulling up boards all over the house.
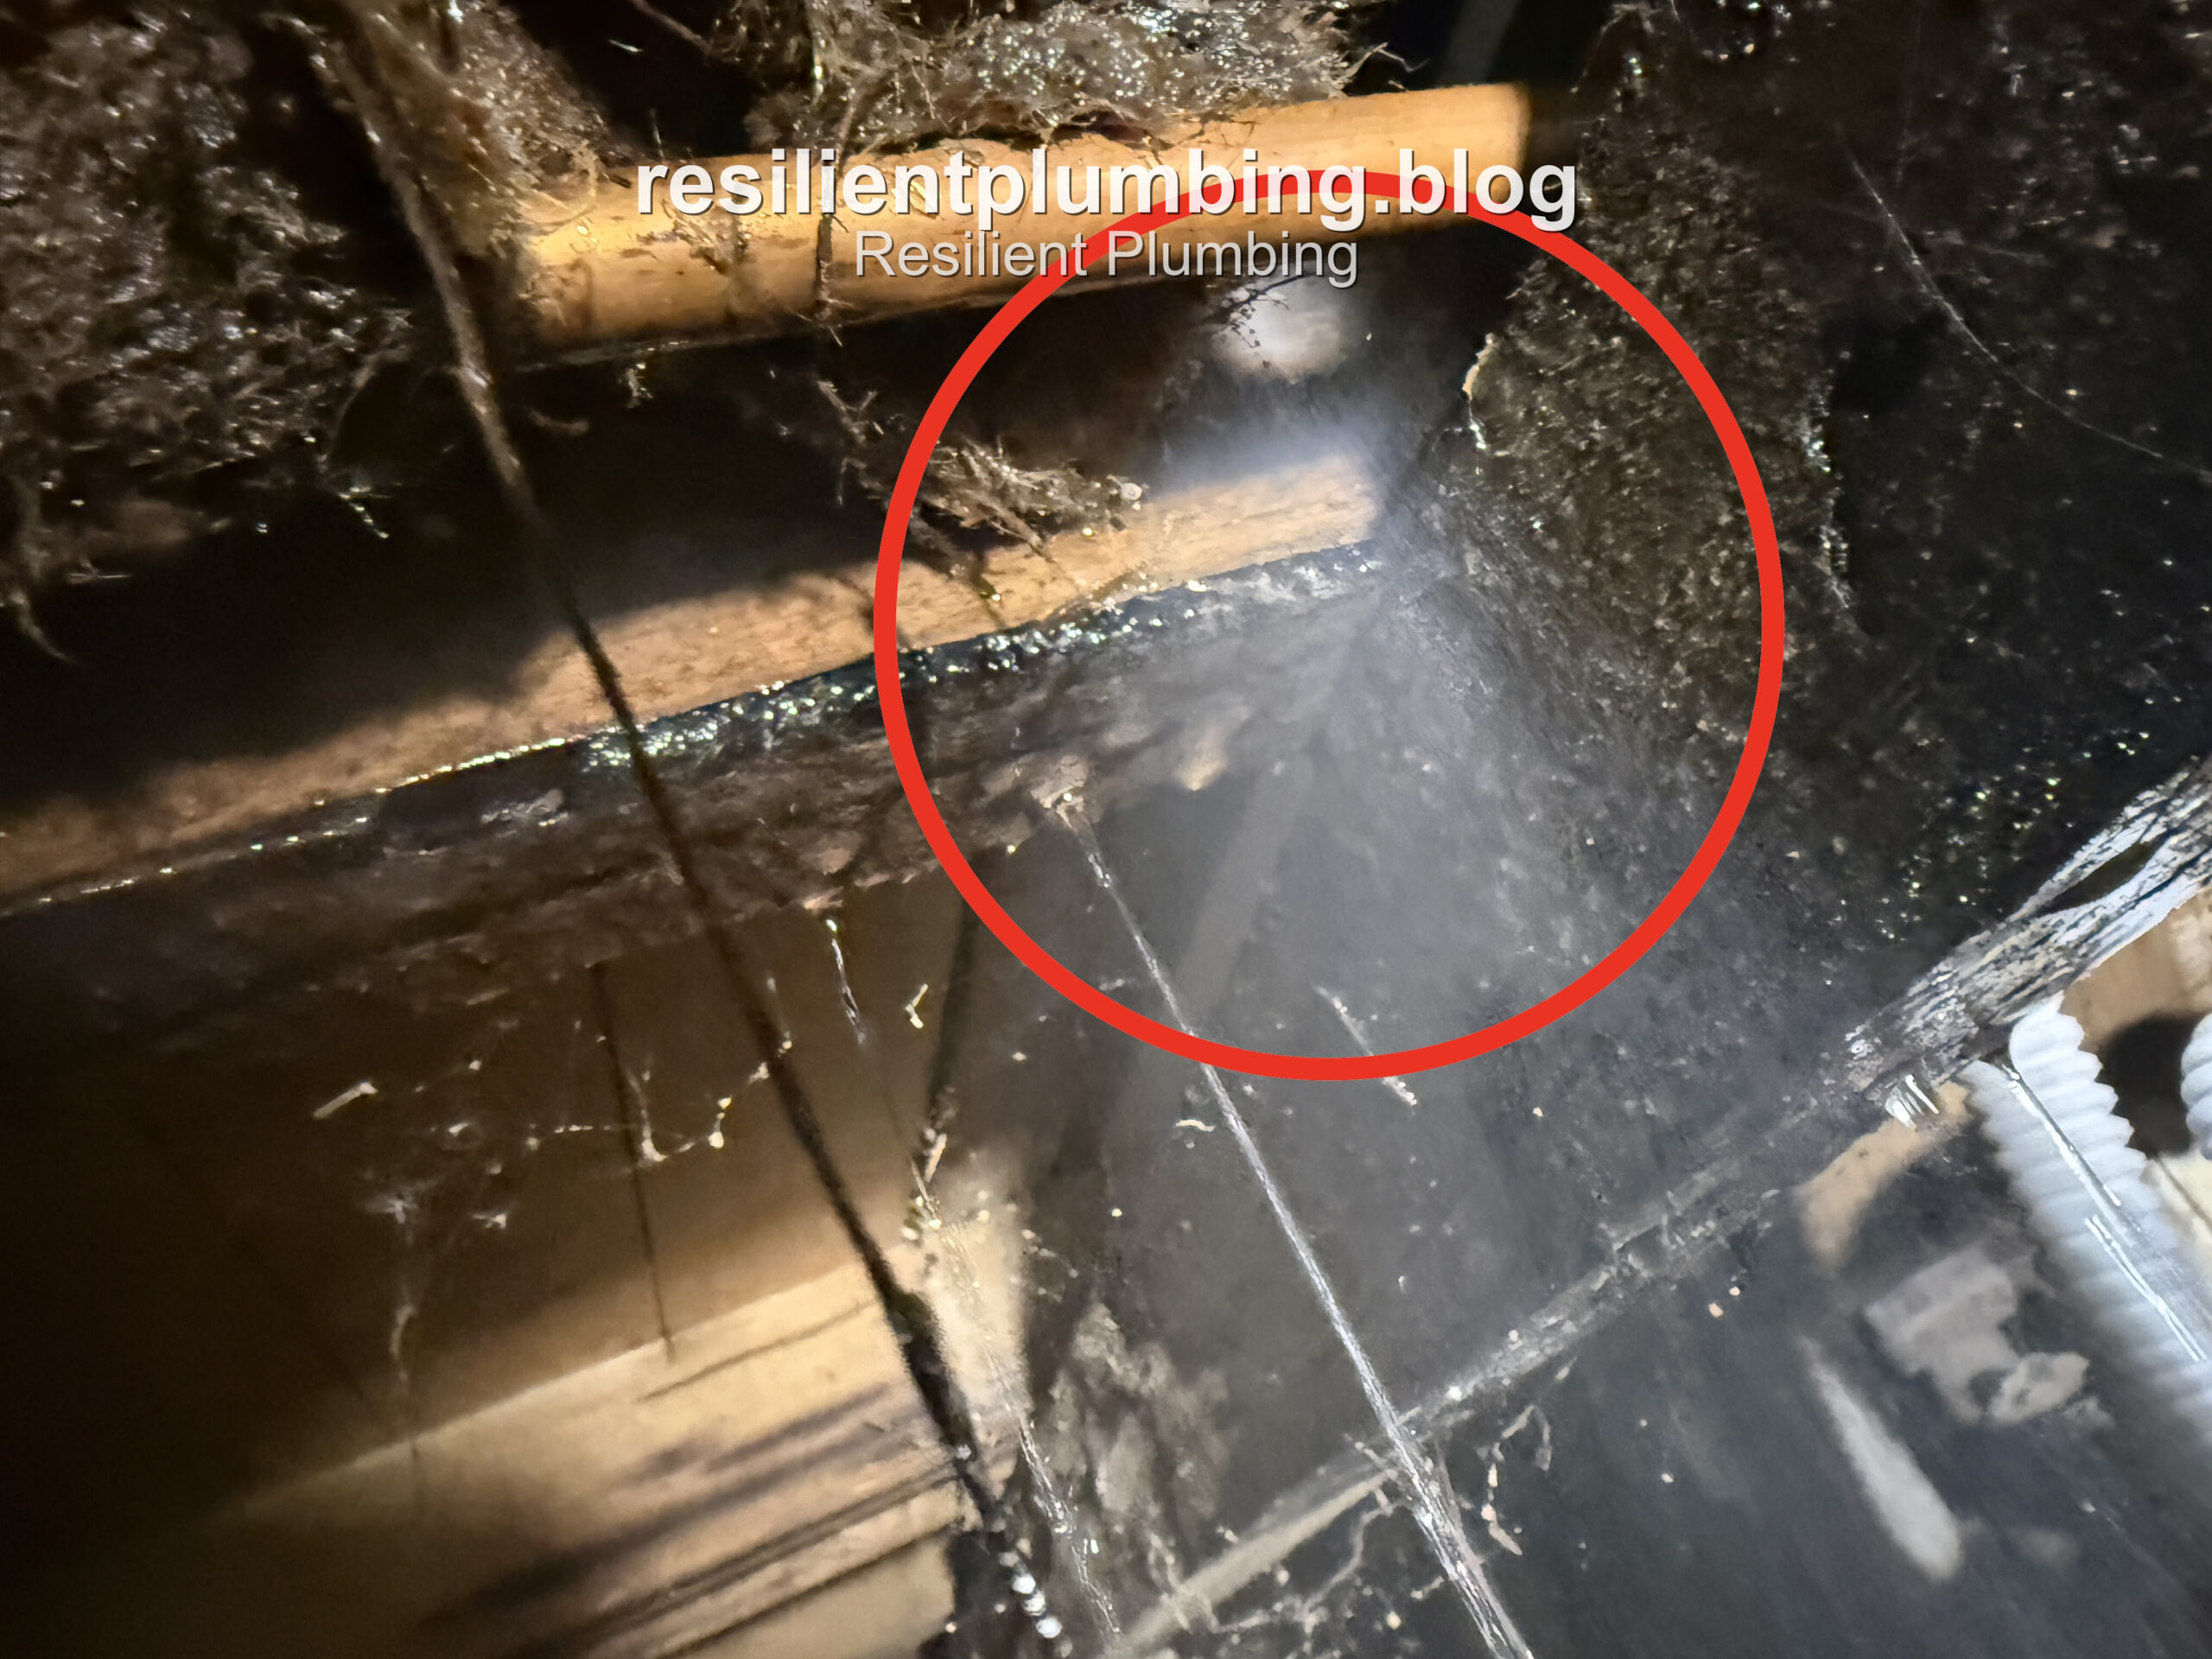
The spot we traced the hissing sound back to, narrowing down exactly where to open the floor.
Step 5: Cutting and Lifting the Floor
Once we’ve zeroed in on the spot, we carefully cut and lift a section of flooring — big enough to get our tools in, positioned between joists where we can, and planned out so it goes back together neatly once we’re done. Marking out the cut lines beforehand, like below, makes a real difference to how tidy the patch-up looks afterwards.
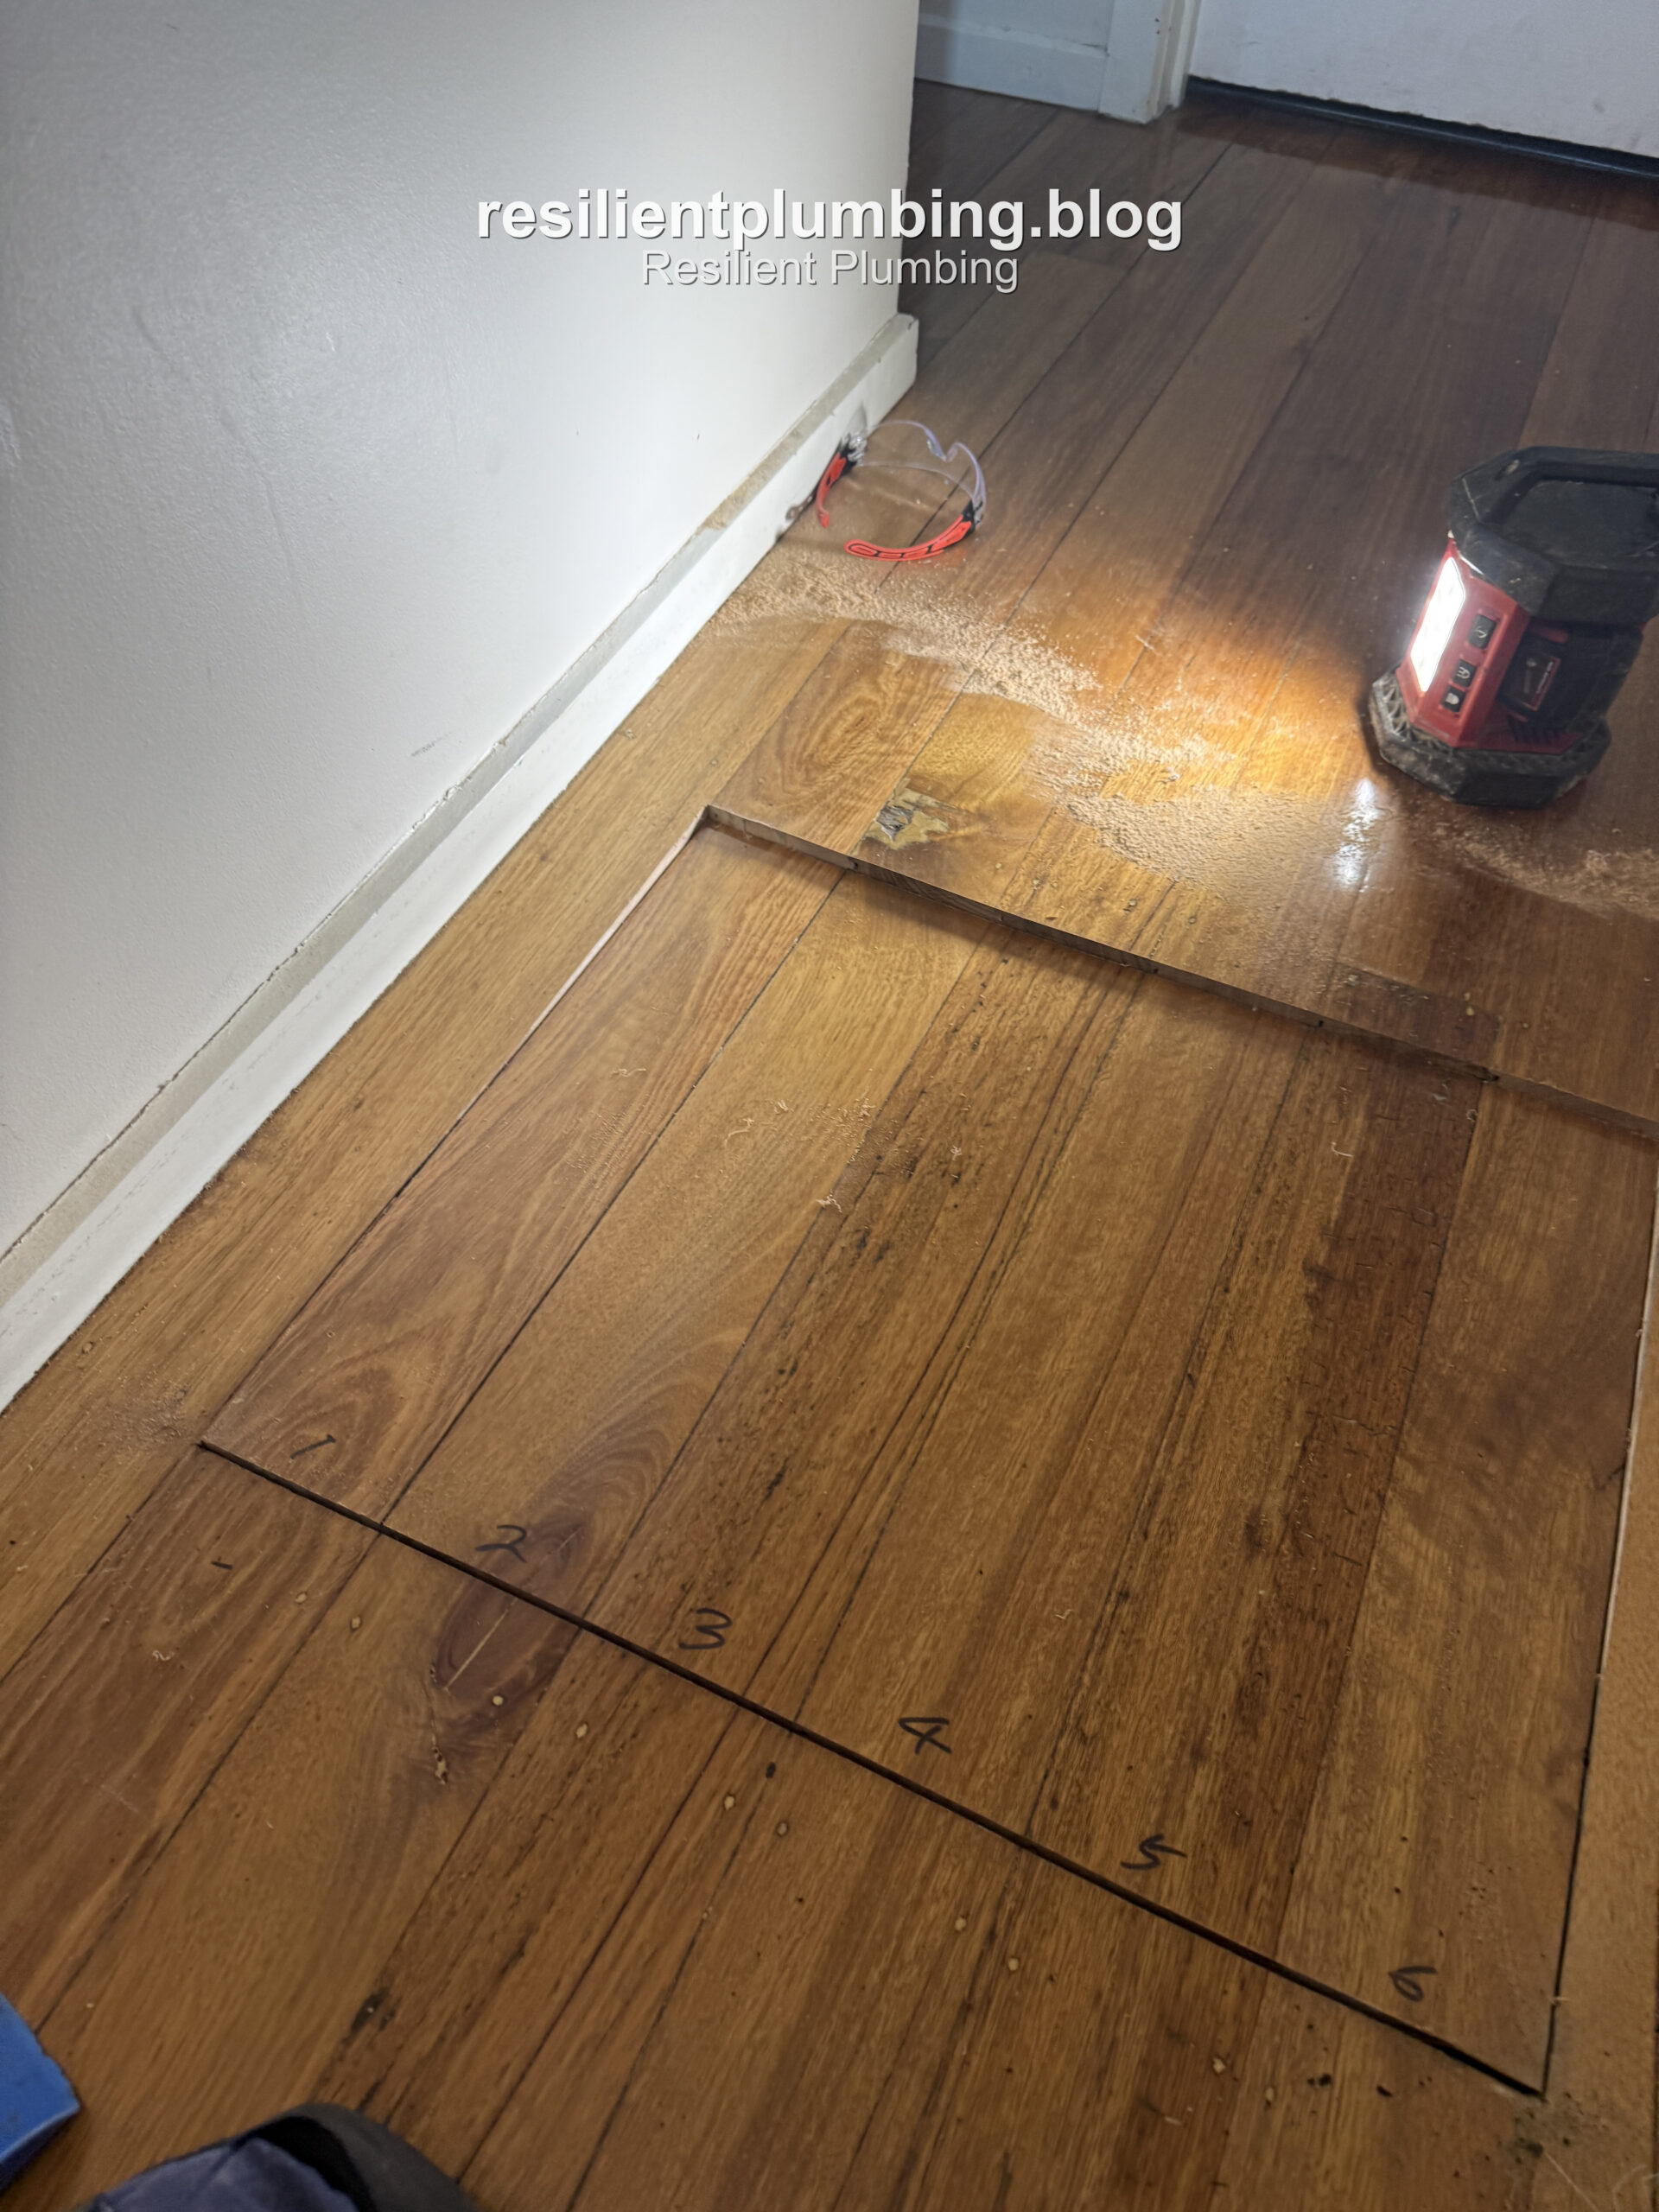
Cut lines marked out in advance so the section lifts cleanly and goes back just as neatly.
Step 6: Confirming We’ve Found It
With the floor open, we’re looking for the telltale signs — spraying water, wet or muddy soil, saturated timber, water staining. Once we’re sure we’ve found the right spot, the water gets turned off at the metre straight away, and we mark the exact position on the pipe before touching anything else.
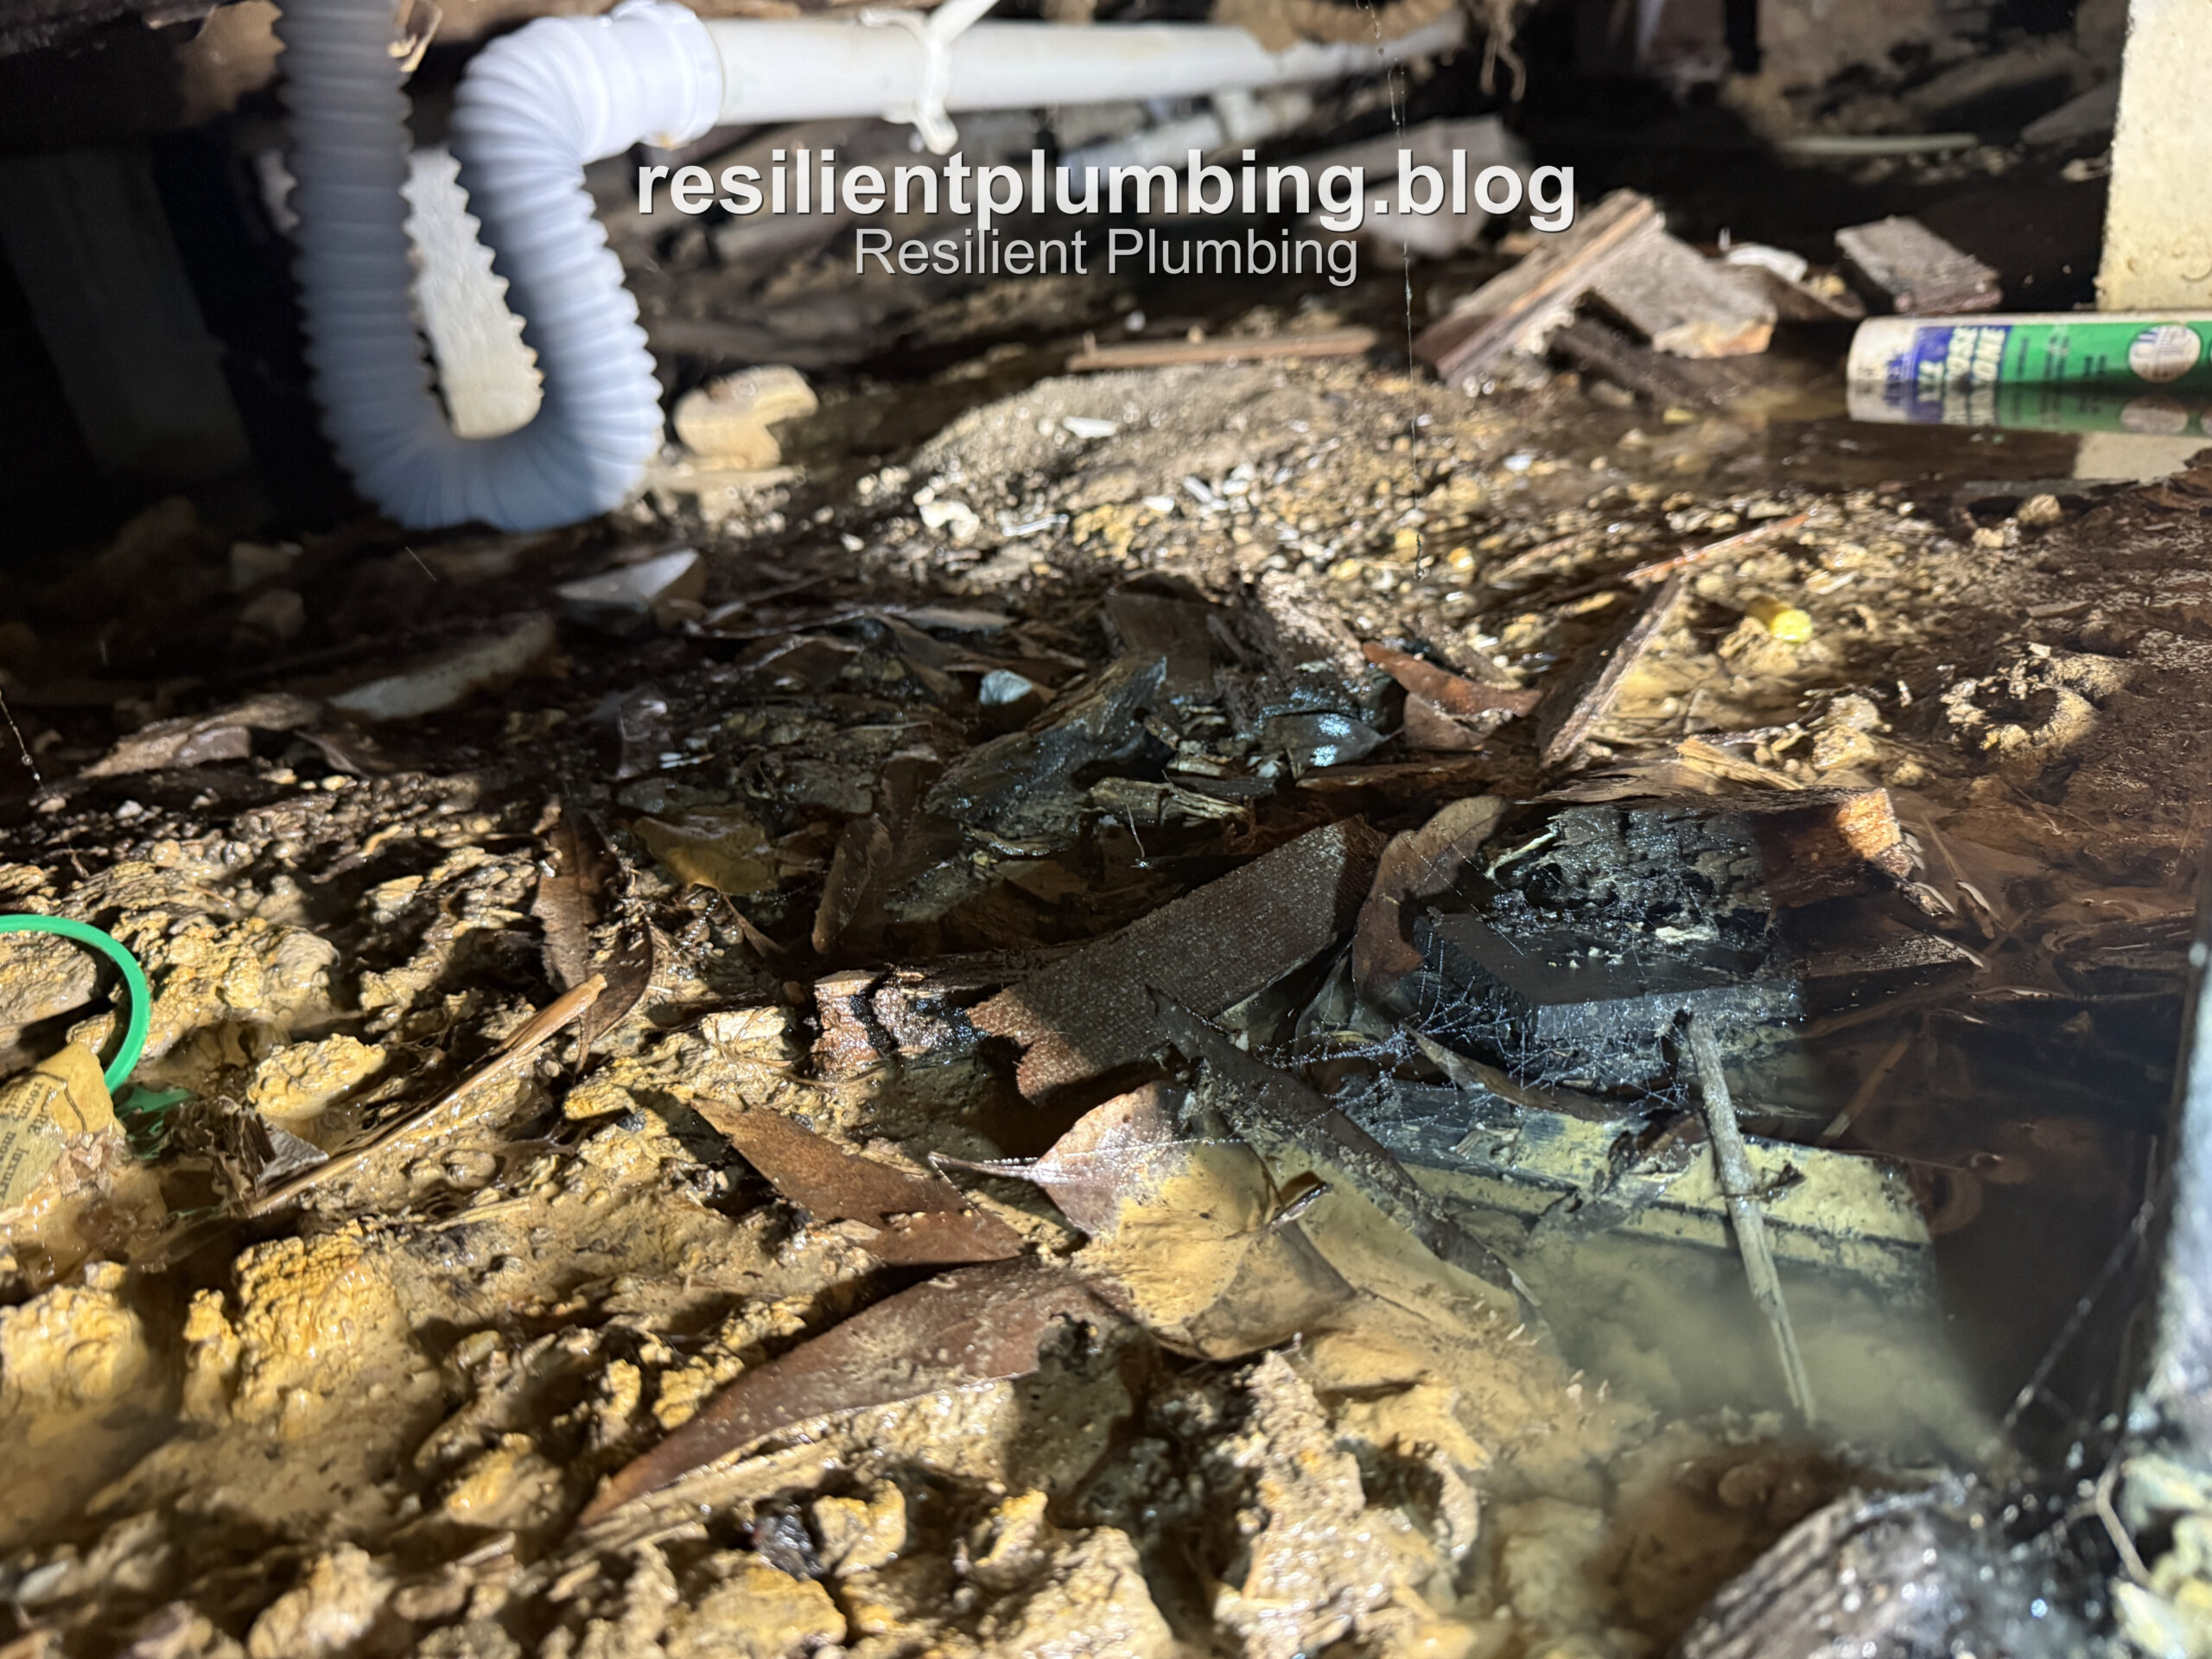
Saturated soil and debris confirmed we’d found the right spot before cutting into the pipe.
Step 7: Setting Up to Work Clean
Working over wet, muddy soil brings its own headache — loose dirt has a habit of falling straight into the repair area and getting into your fittings. So before we get stuck into the pipe itself, we lay something down to catch the mess. On this job it was an old cardboard box, which kept the soil contained, kept the fittings clean, and made it a lot easier to actually see what we were doing.
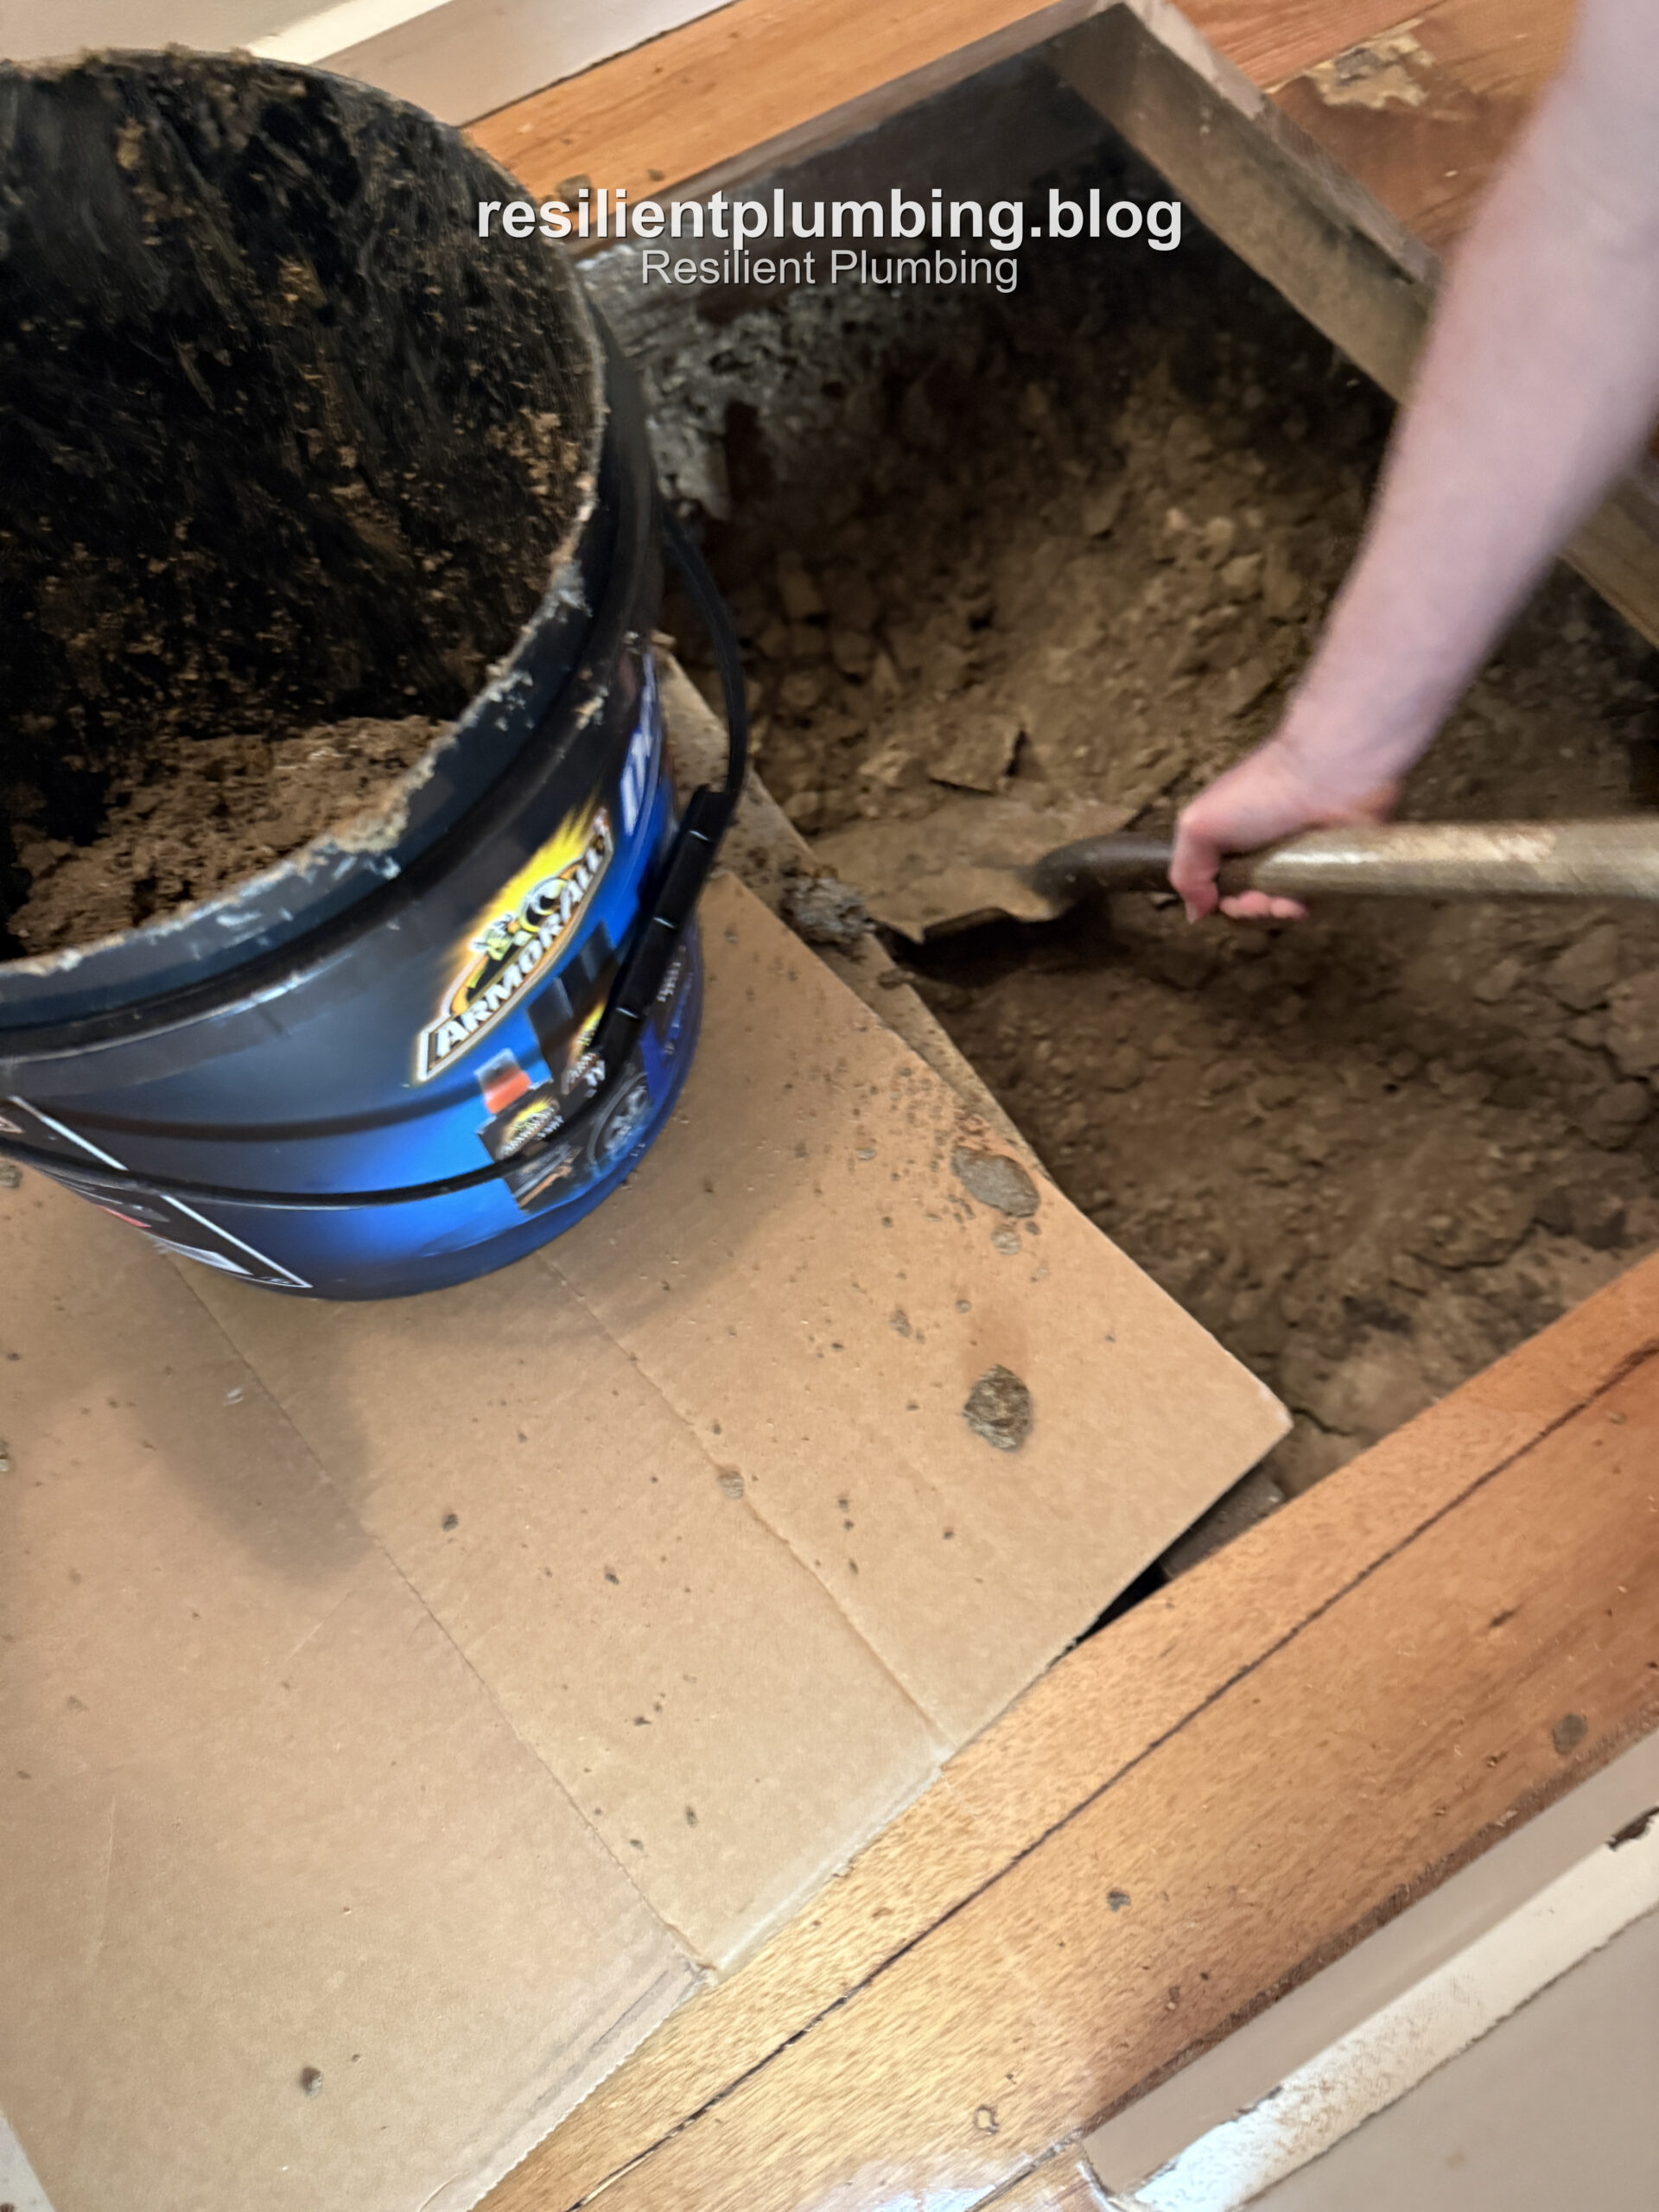
Digging down to the pipe, with cardboard down first to keep the mess contained.
Step 8: Cutting Out and Fixing the Pipe
With the water off, we cut out the damaged section, clean up the pipe ends, fit a proper repair coupling or a fresh length of pipe, and secure everything up. We bring the water pressure back gradually and check thoroughly for leaks before we even think about closing the floor back up — only once we’re completely happy it’s watertight does the flooring go back.
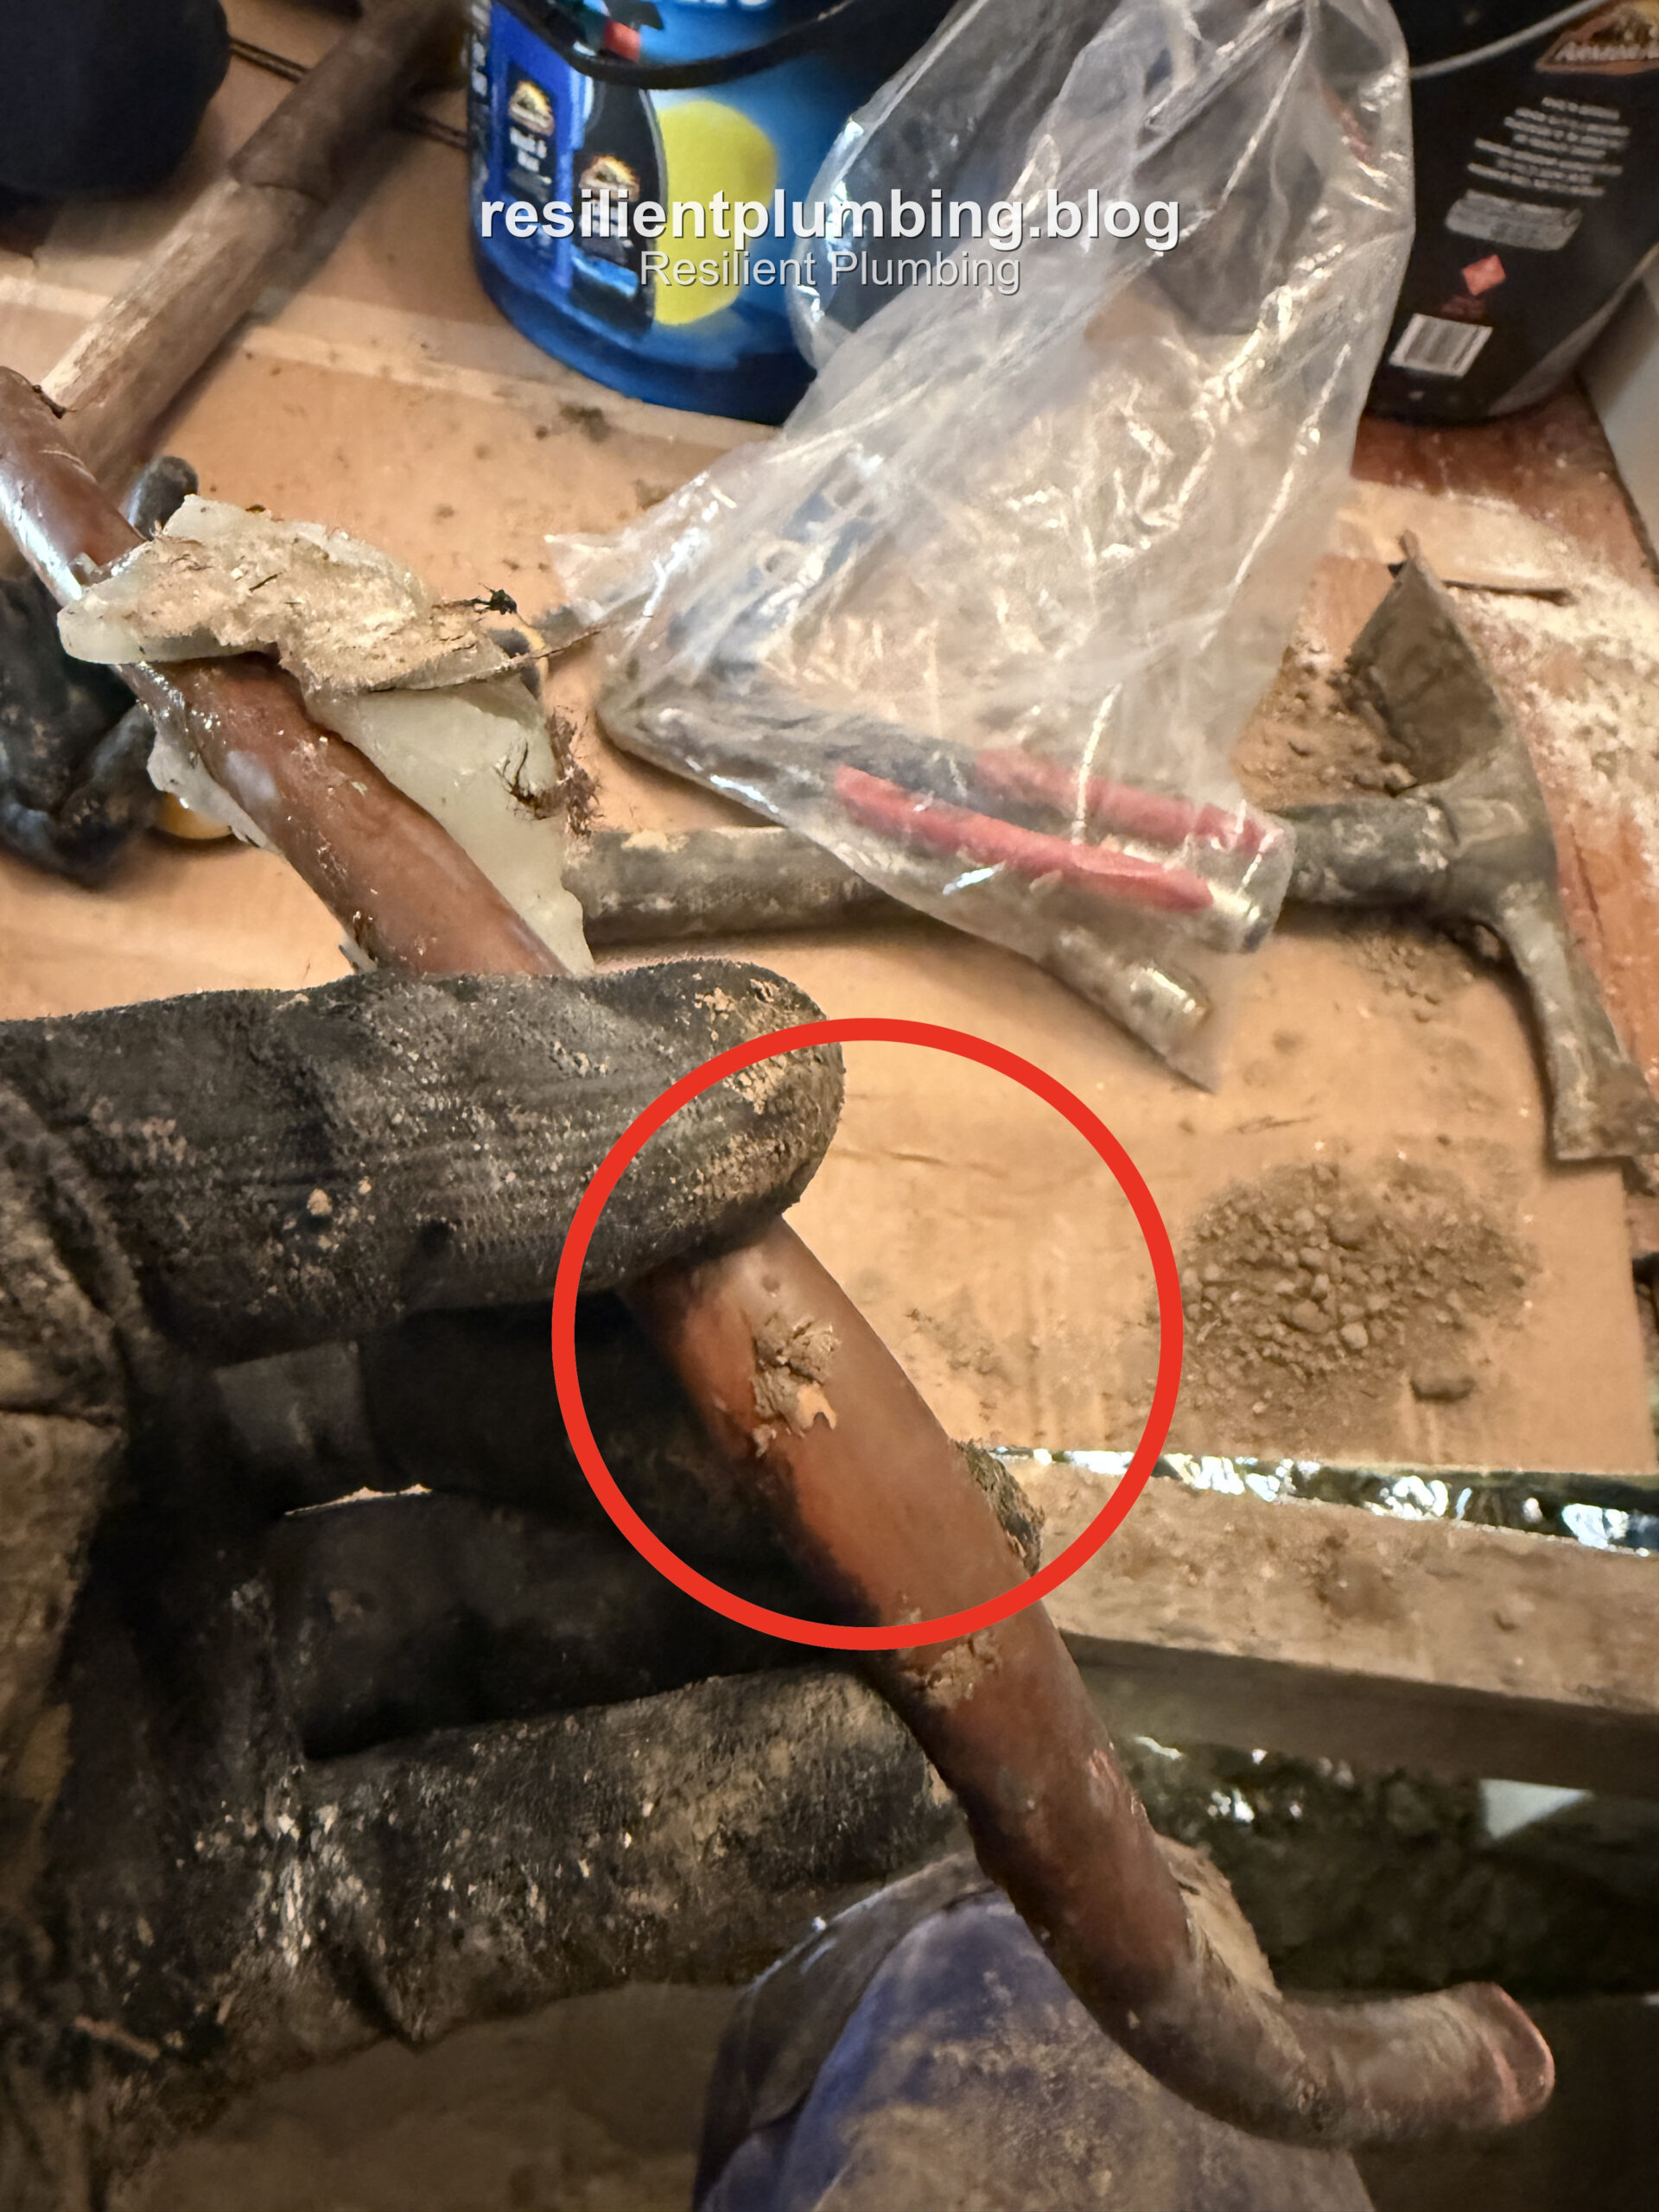
The culprit — years of corrosion had worn a split straight through the copper pipe.
Putting the Floor Back Together
Once the repair’s sorted, we dry the area out if it needs it, refit the original boards, secure them properly, and finish off the joints so the floor looks like nothing ever happened. Taking the time to plan the cuts properly at the start is what makes this last part so much cleaner.
The Big Takeaway
A burst pipe under a tight subfloor is never just a quick pipe swap. When you’ve only got 150-300mm between the ground and the joists, getting underneath simply isn’t an option, and the whole job has to be done from above instead. Checking access properly, working out what’s in the way, tracking the leak down accurately, and only opening up what’s needed — all of that makes a real difference to how long the job takes and how much of the floor ends up disturbed.
If you’re looking at buying an older home with timber floors, it’s worth asking more than just “is there subfloor access?” Ask whether that access actually gets you anywhere. Enough clearance under the floor can be the difference between a straightforward repair and a much bigger job down the track.
💡 Buying a home? Check the subfloor first
Buyers tend to focus on kitchens, bathrooms, and finishes — it’s easy to overlook what’s underneath the house entirely. Before you commit to a property with timber flooring, it’s worth checking:
- Whether a subfloor access door exists
- The size of that opening
- Ground clearance beneath the floor
- Whether you can actually reach the plumbing and drainage from there
- Any signs of previous leaks, moisture, or damp soil
- The general condition of the timber framing
If the clearance is extremely low, even a small plumbing leak can turn into a much bigger job that means pulling up sections of the finished floor.
Signs You Might Have a Subfloor Leak
- A hissing or trickling sound with no obvious source
- Musty or damp smells inside the house
- Water bills creeping up with no clear reason
- Warped, soft, or lifting floorboards
- Visible mould or dark patches near skirting boards
Suspect a Subfloor Leak?
Tight subfloor, no access panel, or just not sure what’s going on down there — we’re happy to come and take a look, day or night.
📞 Call 0432 704 268 Get in Touch